Snowflake integration
With the Apify integration for Snowflake, you can run Apify Actors and import their results directly into your Snowflake data warehouse without leaving the Snowflake UI. The integration is distributed as a Snowflake Native App and provides a built-in Streamlit interface for managing Actor runs and dataset imports.
This integration uses a third-party service. If you find outdated content, please submit an issue on GitHub.
Prerequisites
To use the Apify integration for Snowflake, you will need:
- An Apify account
- A Snowflake account with permissions to install Native Apps and create External Access Integrations.
Install the app
Install the Apify integration from the Snowflake Marketplace and follow the guided setup.
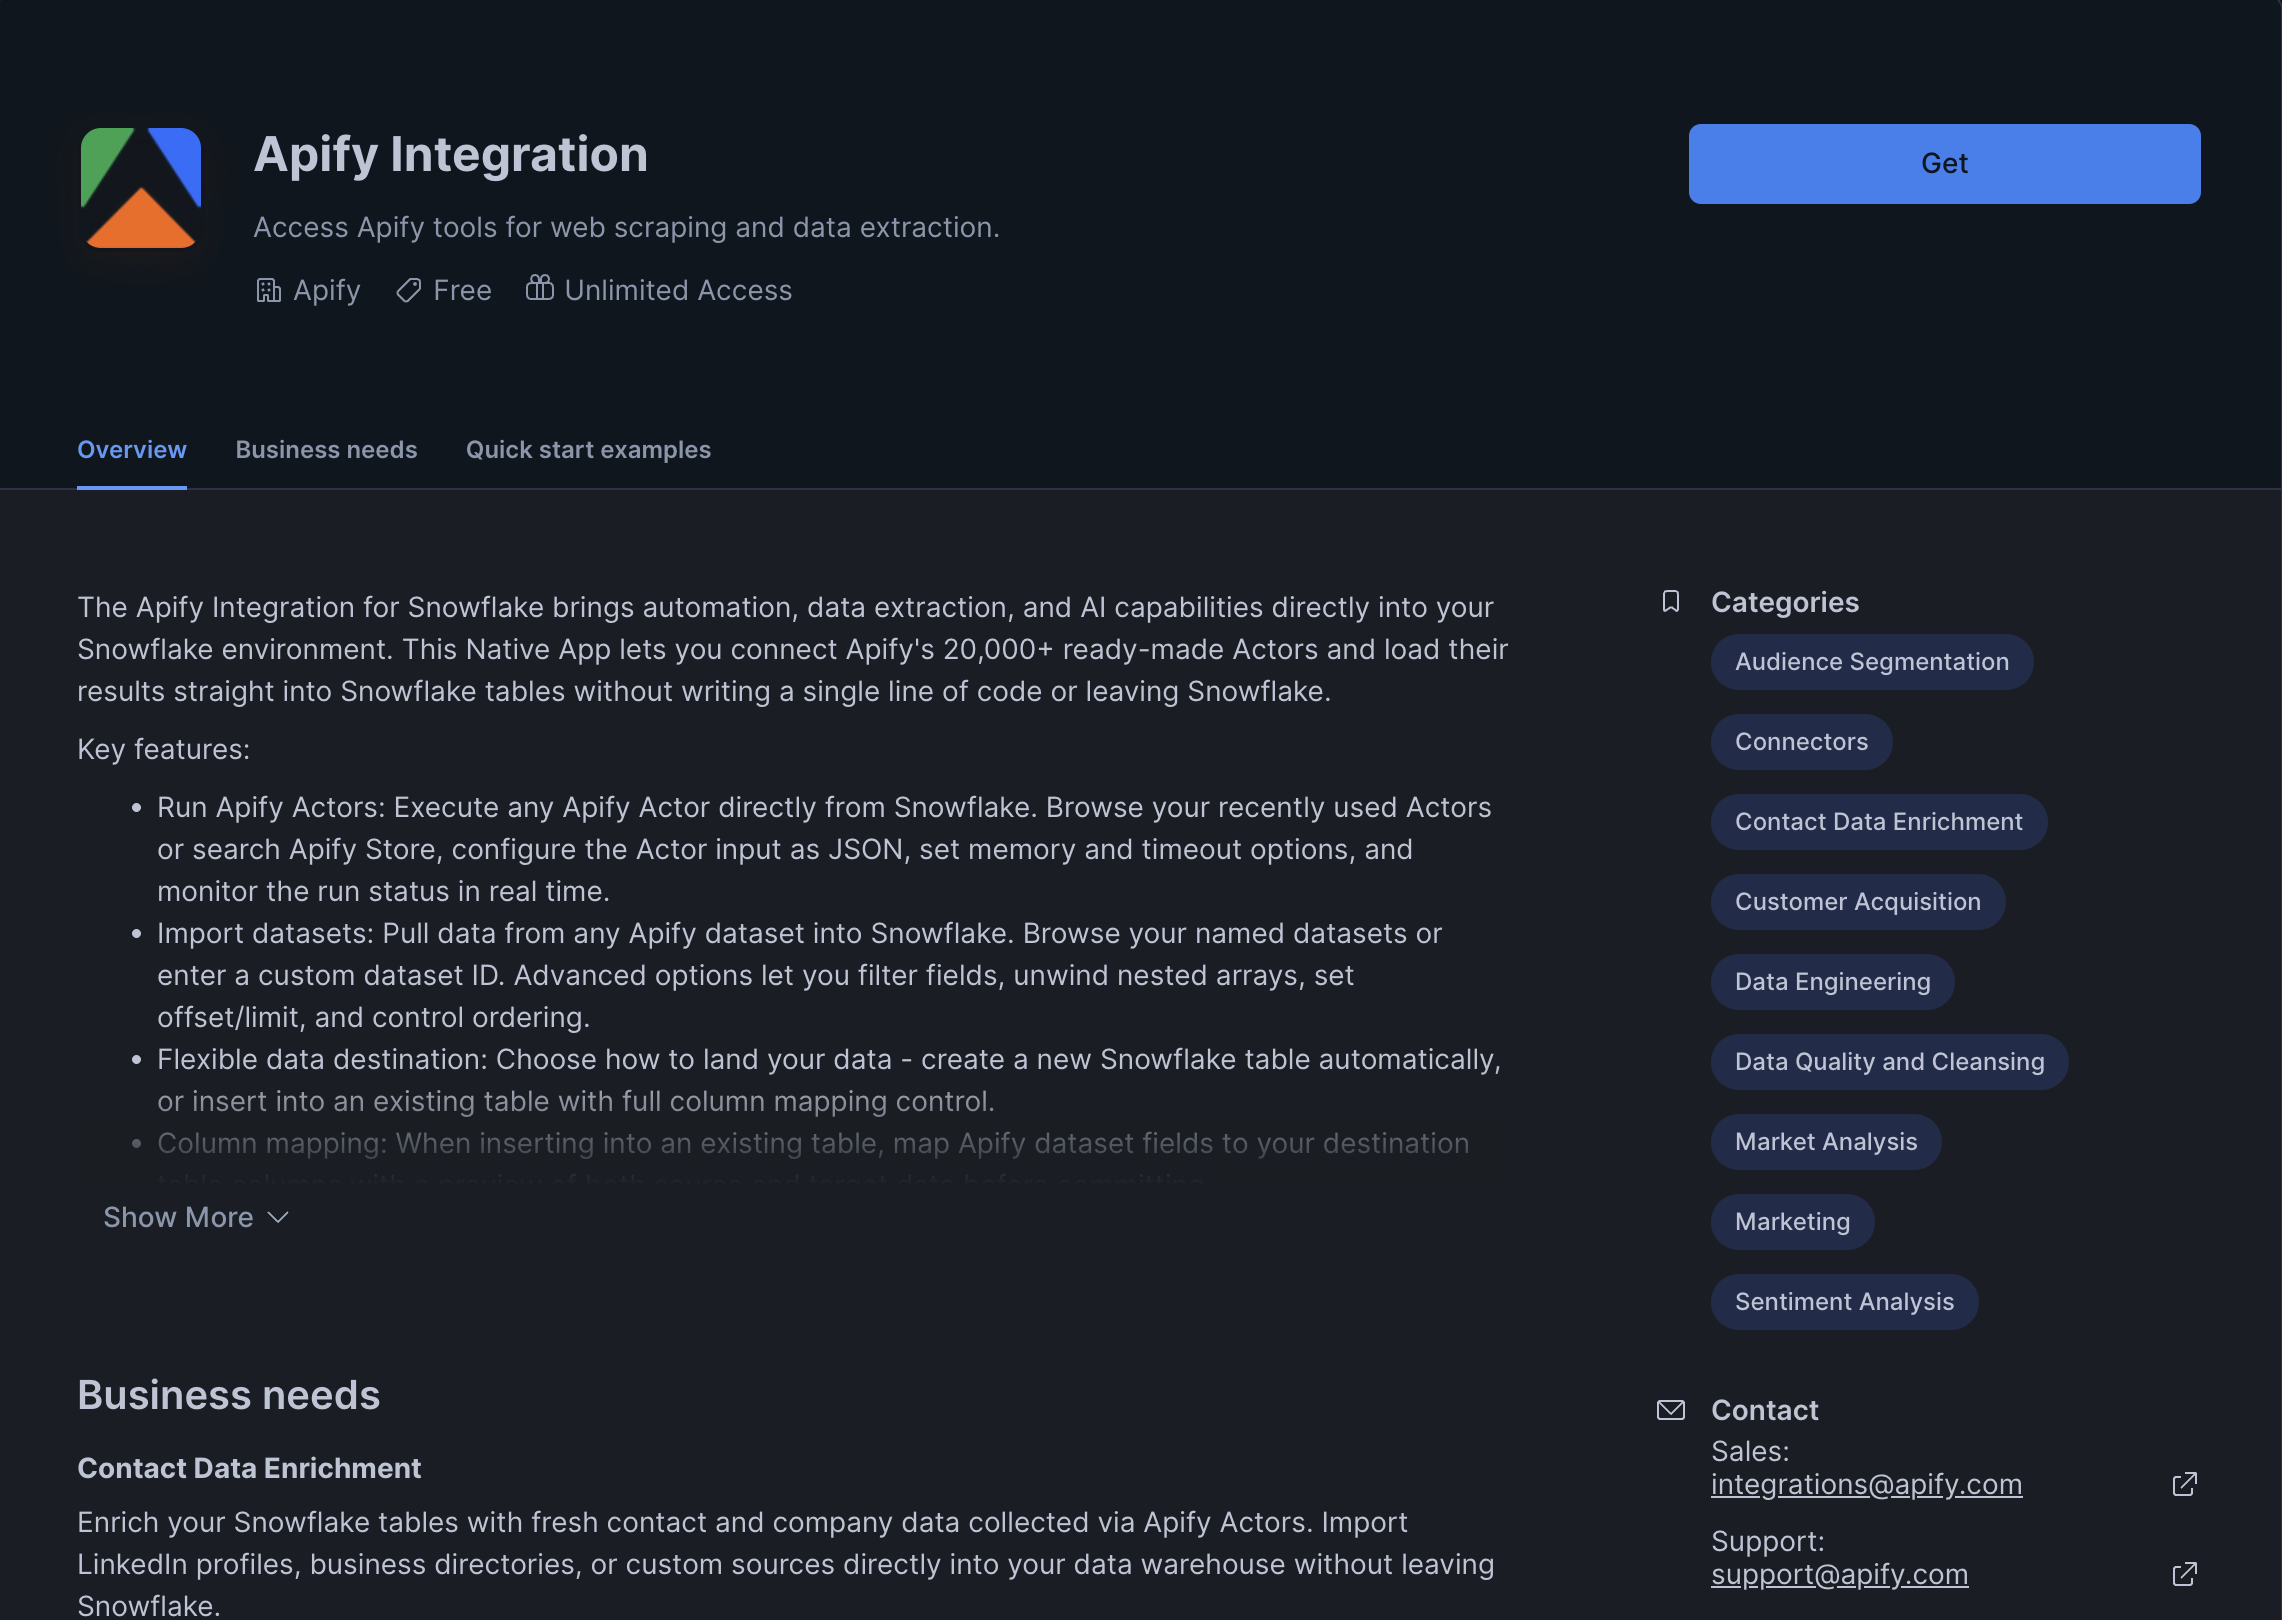
Step 1: Install from Snowflake Marketplace
In Snowsight, open the Data Products menu and navigate to the Marketplace. Search for Apify and open the listing, then click Get to begin installation.
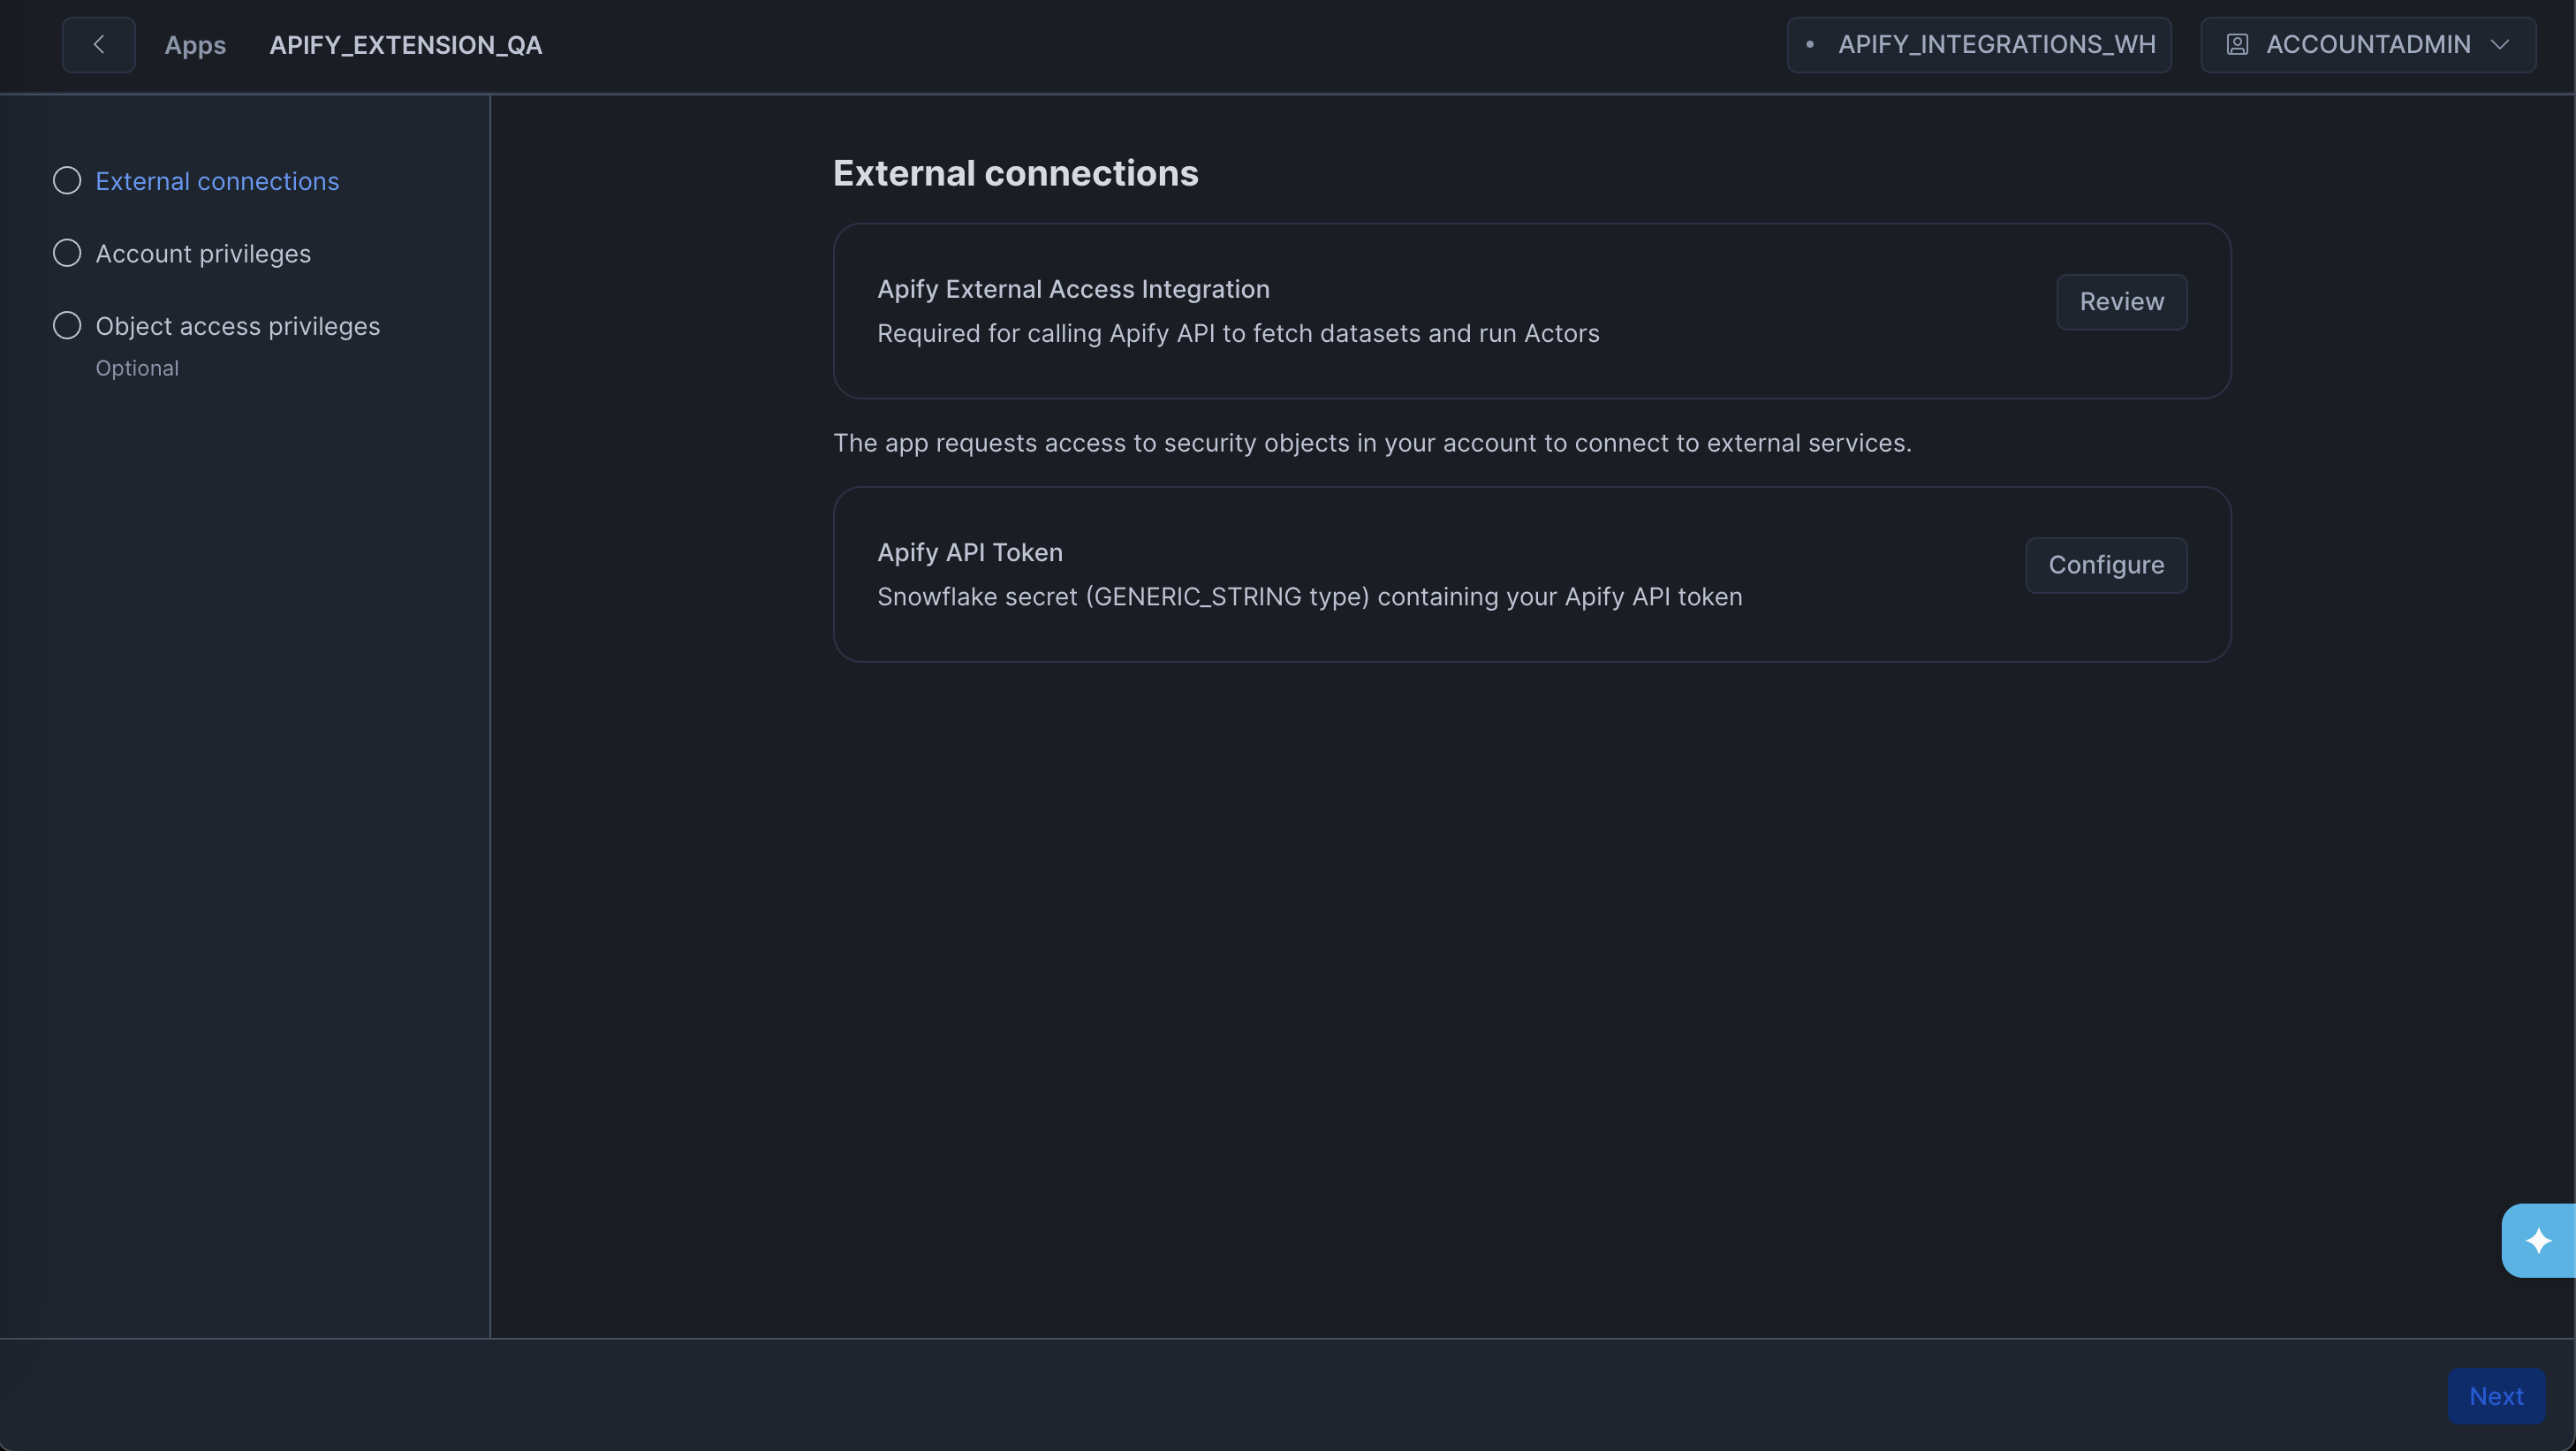
Step 2: Set up External Access Integration
During installation, the app prompts you to create a Network Rule and an External Access Integration so the app can reach the Apify API.
Follow the instructions shown in the setup screen to create the External Access Integration. On the same screen, click Configure next to Apify API Token and bind a Snowflake secret of type Generic String containing your Apify API token.
The role setting up the app must be able to create an External Access Integration and a Network Rule, and must grant the app the READ SESSION account-level privilege.
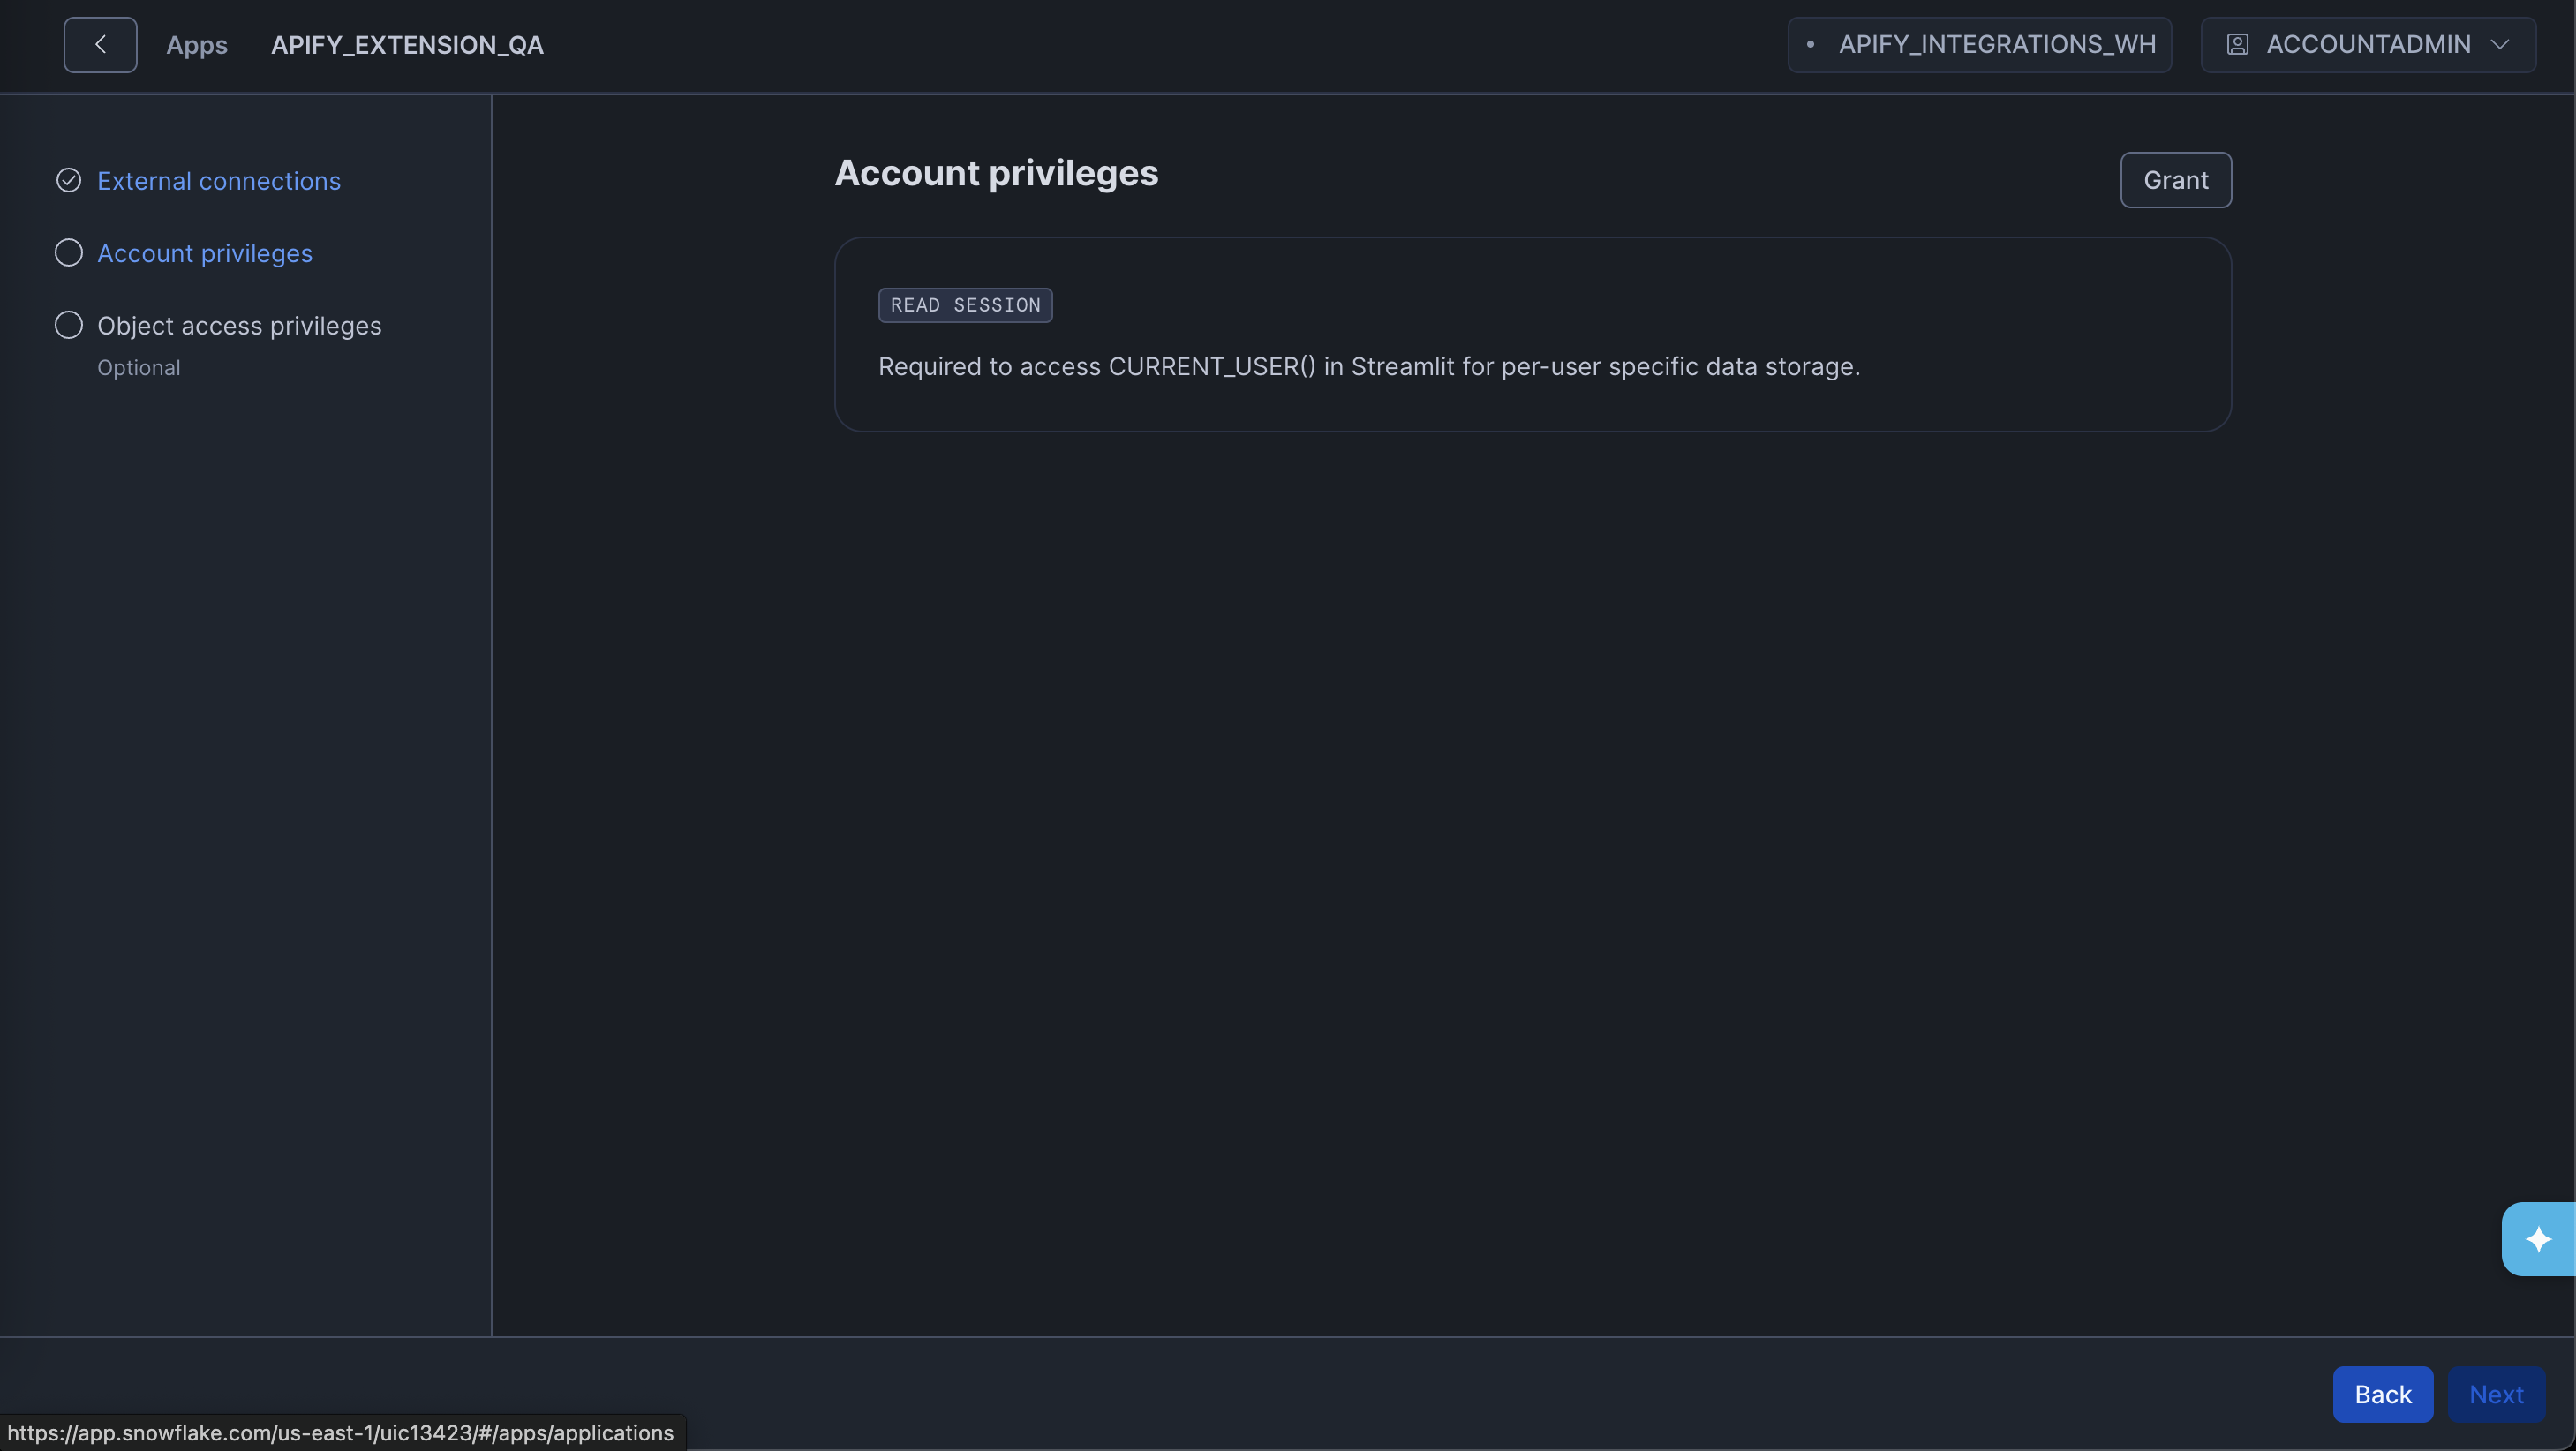
Step 3: Grant required privileges
After the External Access Integration is in place, grant the app the remaining privilege it needs. Click the Grant button to allow the app to read the current Snowflake user session:
- READ SESSION - lets the app associate Apify API tokens with individual Snowflake users.
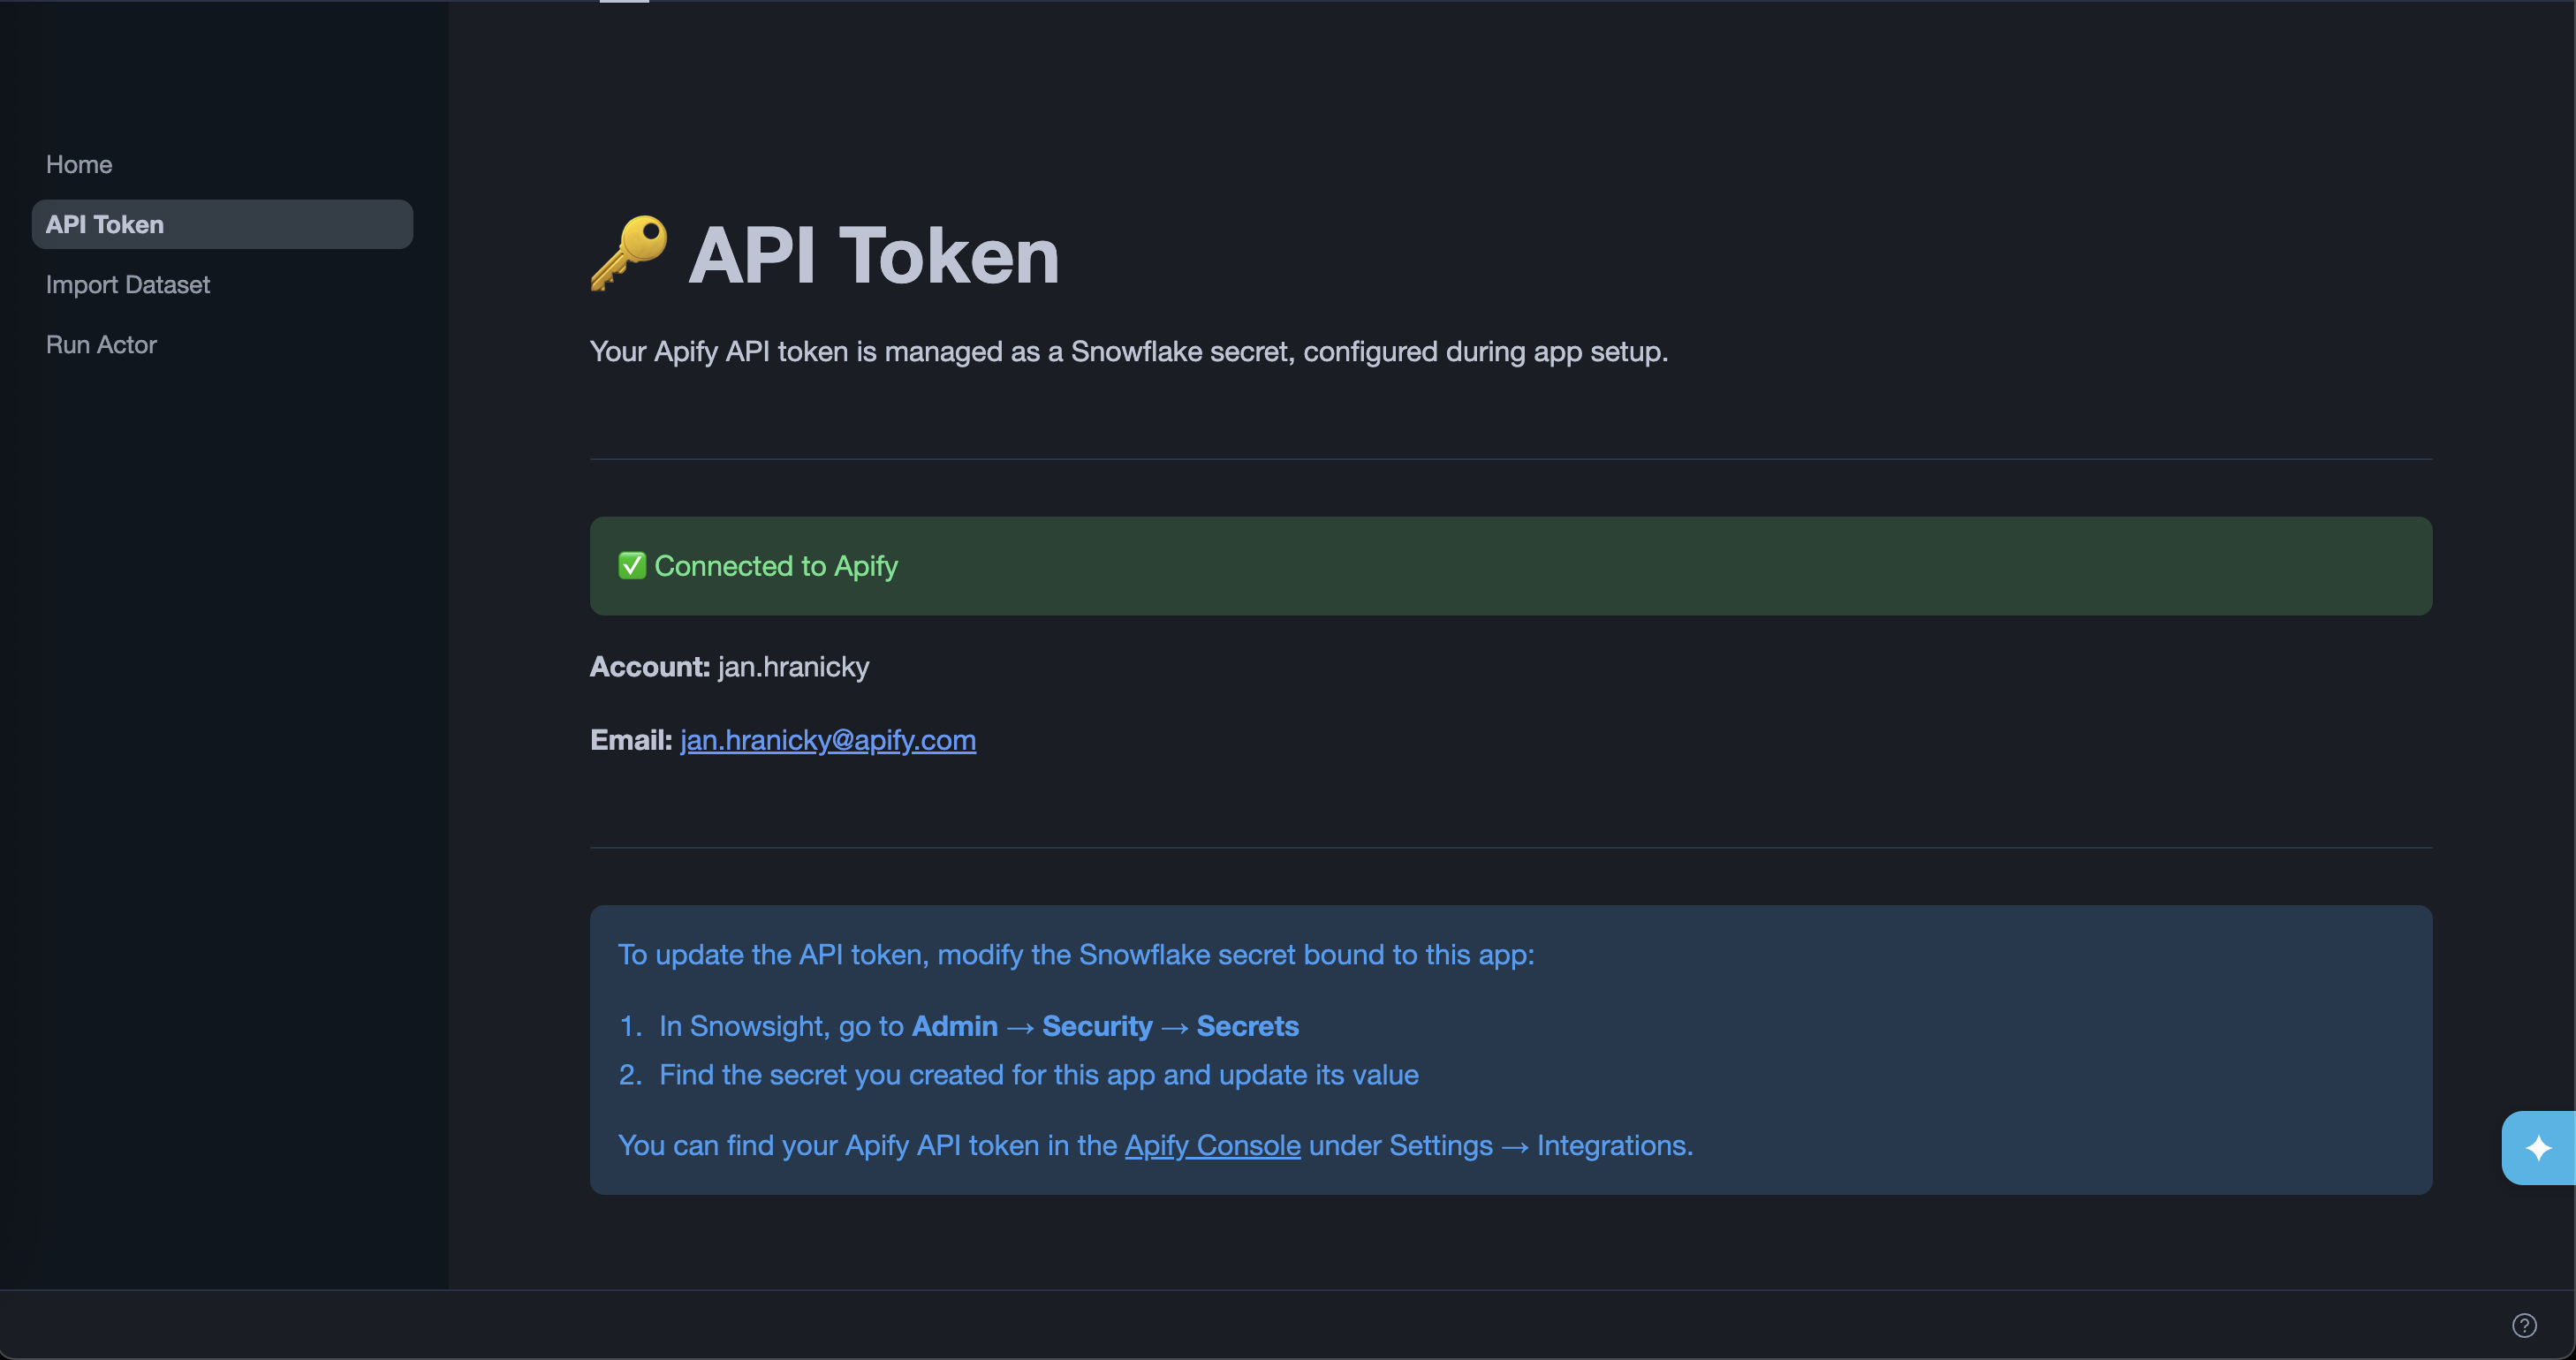
Connect your Apify account
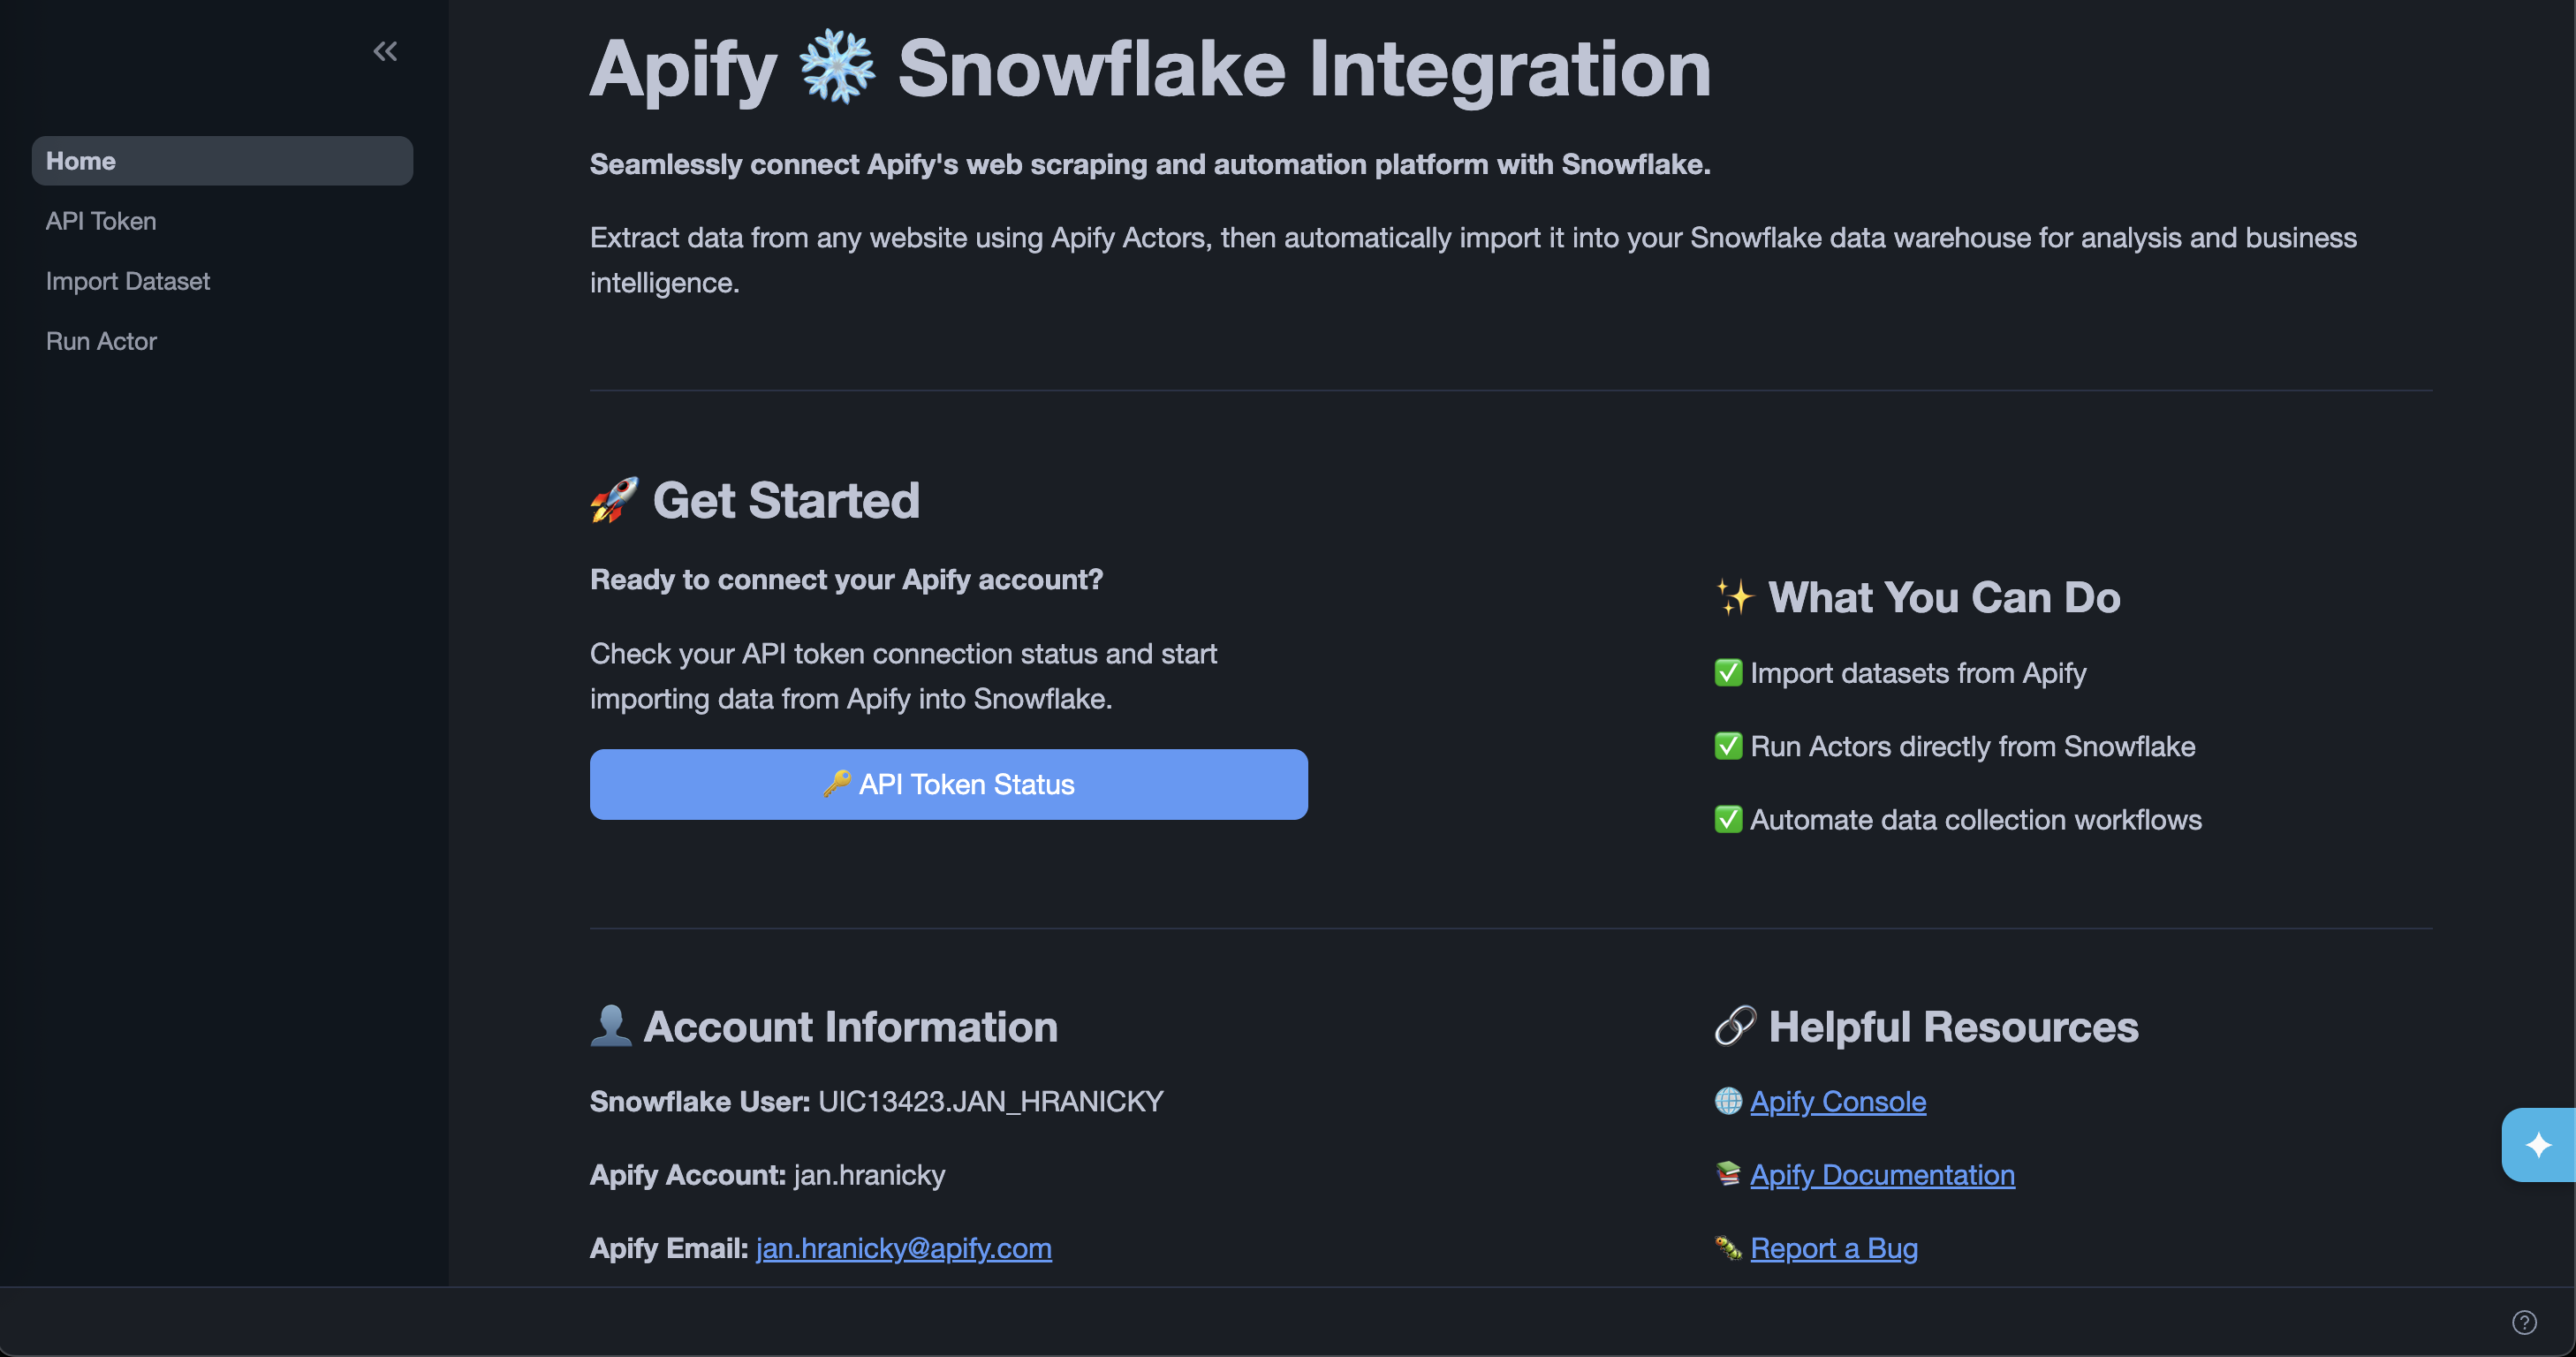
Once installation is complete, open the app and go to the API Token page to verify the connection is working. If the token secret was configured correctly during setup, the page shows your Apify username and email.
To update your Apify API token later, go to Configurations > Credentials in App settings, find the secret bound to this app, and update its value.
Import a dataset
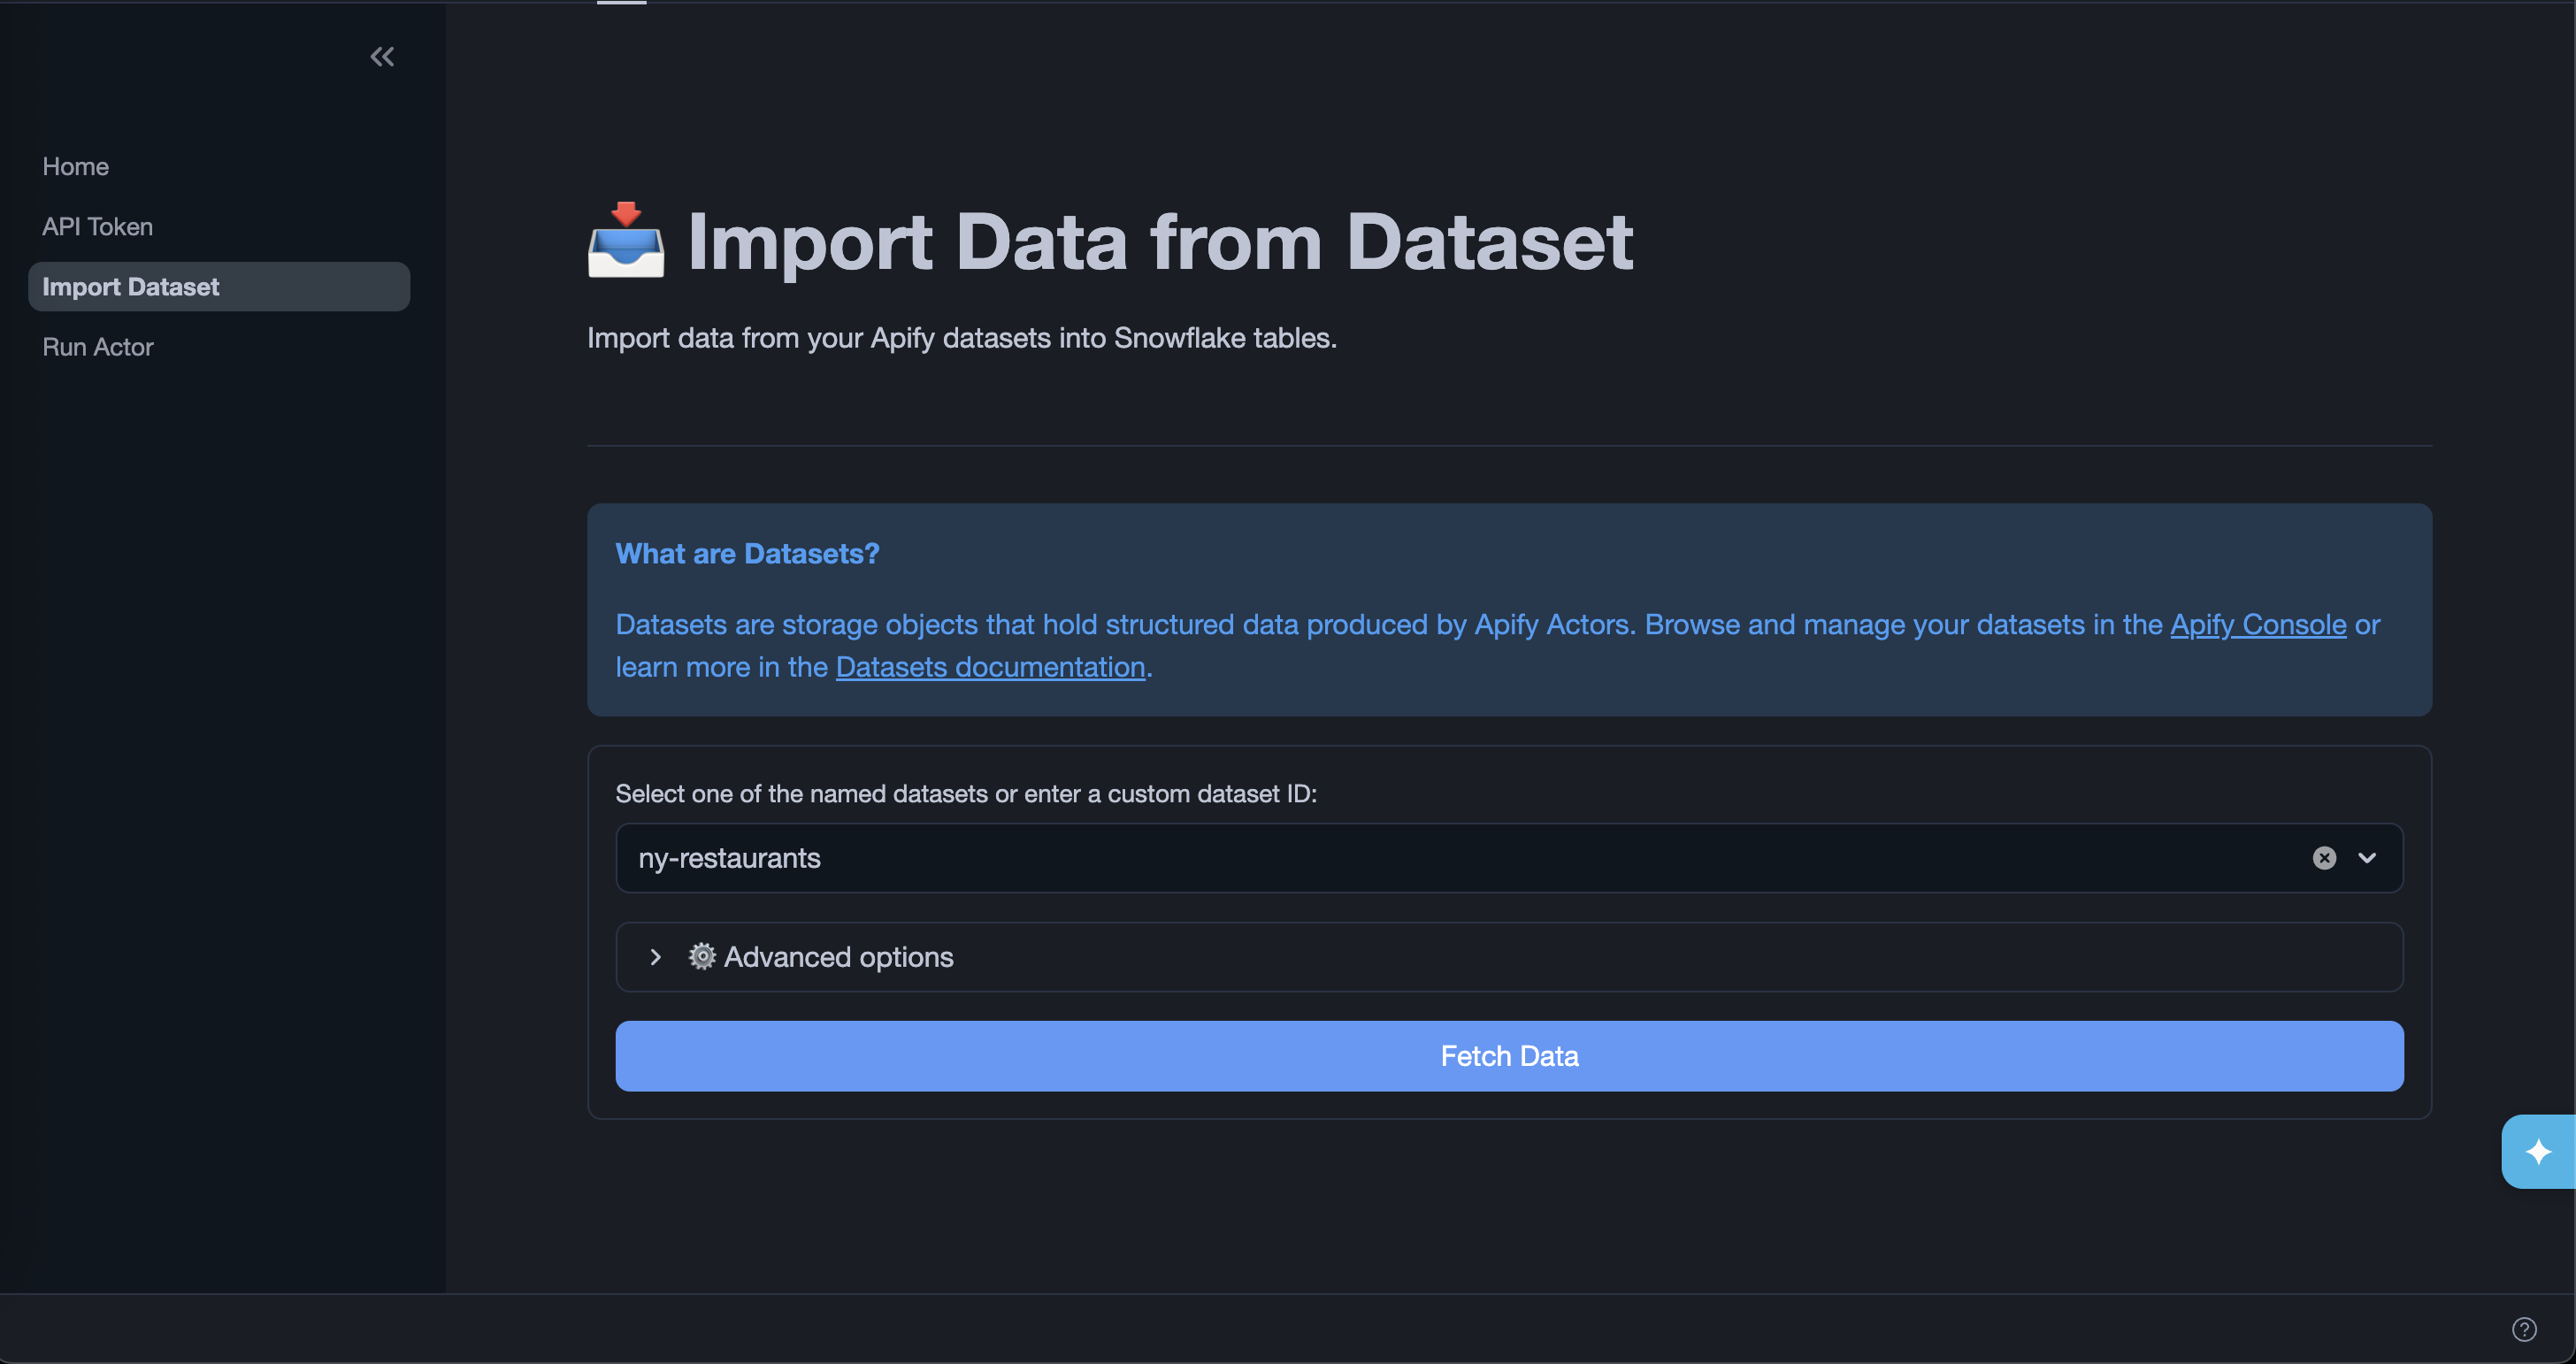
The Import Data from Dataset page lets you fetch items from an Apify dataset and load them into a Snowflake table.
Step 1: Select a dataset
Choose one of your named datasets from the dropdown or enter a custom dataset ID. You can find dataset IDs in Apify Console under Storage > Datasets.
Expand Advanced options to refine what data is fetched:
| Option | Description |
|---|---|
| Select fields | Comma-separated list of fields to include. The fields are exported in the order specified. |
| Omit fields | Comma-separated list of fields to exclude. |
| Unwind | Comma-separated list of array or object fields to flatten into separate rows. |
| Offset | Number of items to skip from the beginning of the dataset. |
| Limit | Maximum number of items to fetch. |
| Clean | Excludes empty items and fields starting with #. |
| Descending order | Returns items in reverse order. |
Click Fetch Data to retrieve a preview of the dataset.
Step 2: Choose an export mode
After fetching data, select how you want to load it into Snowflake:
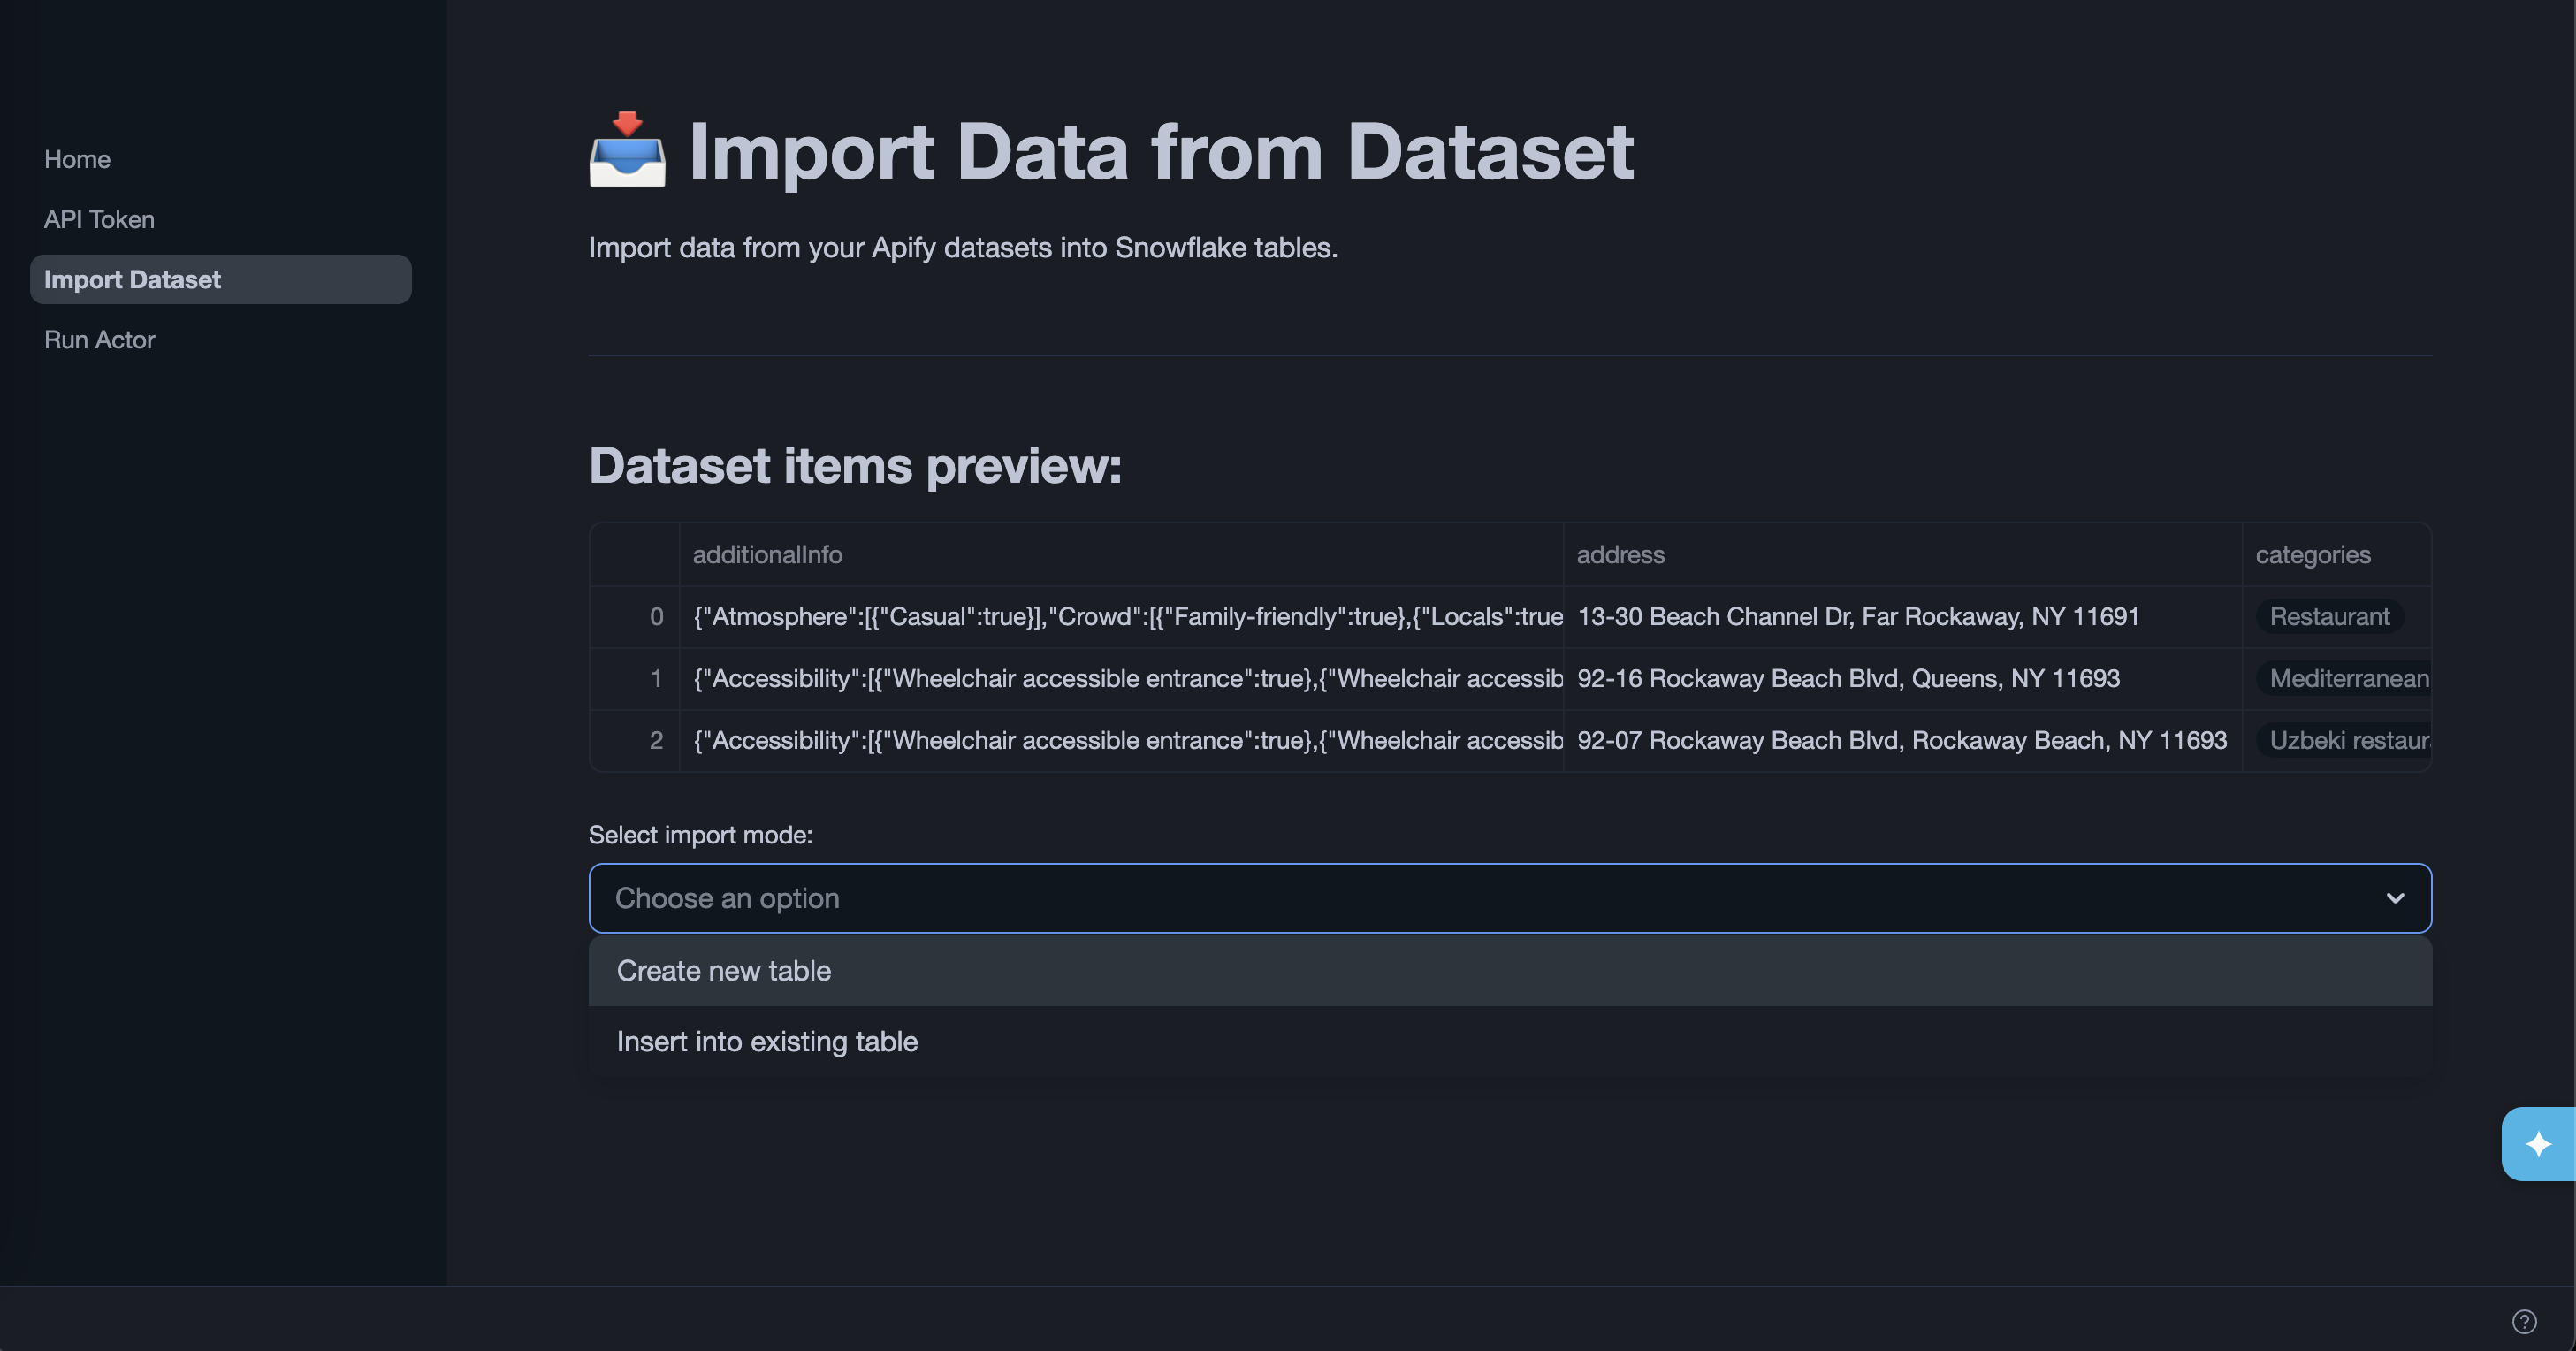
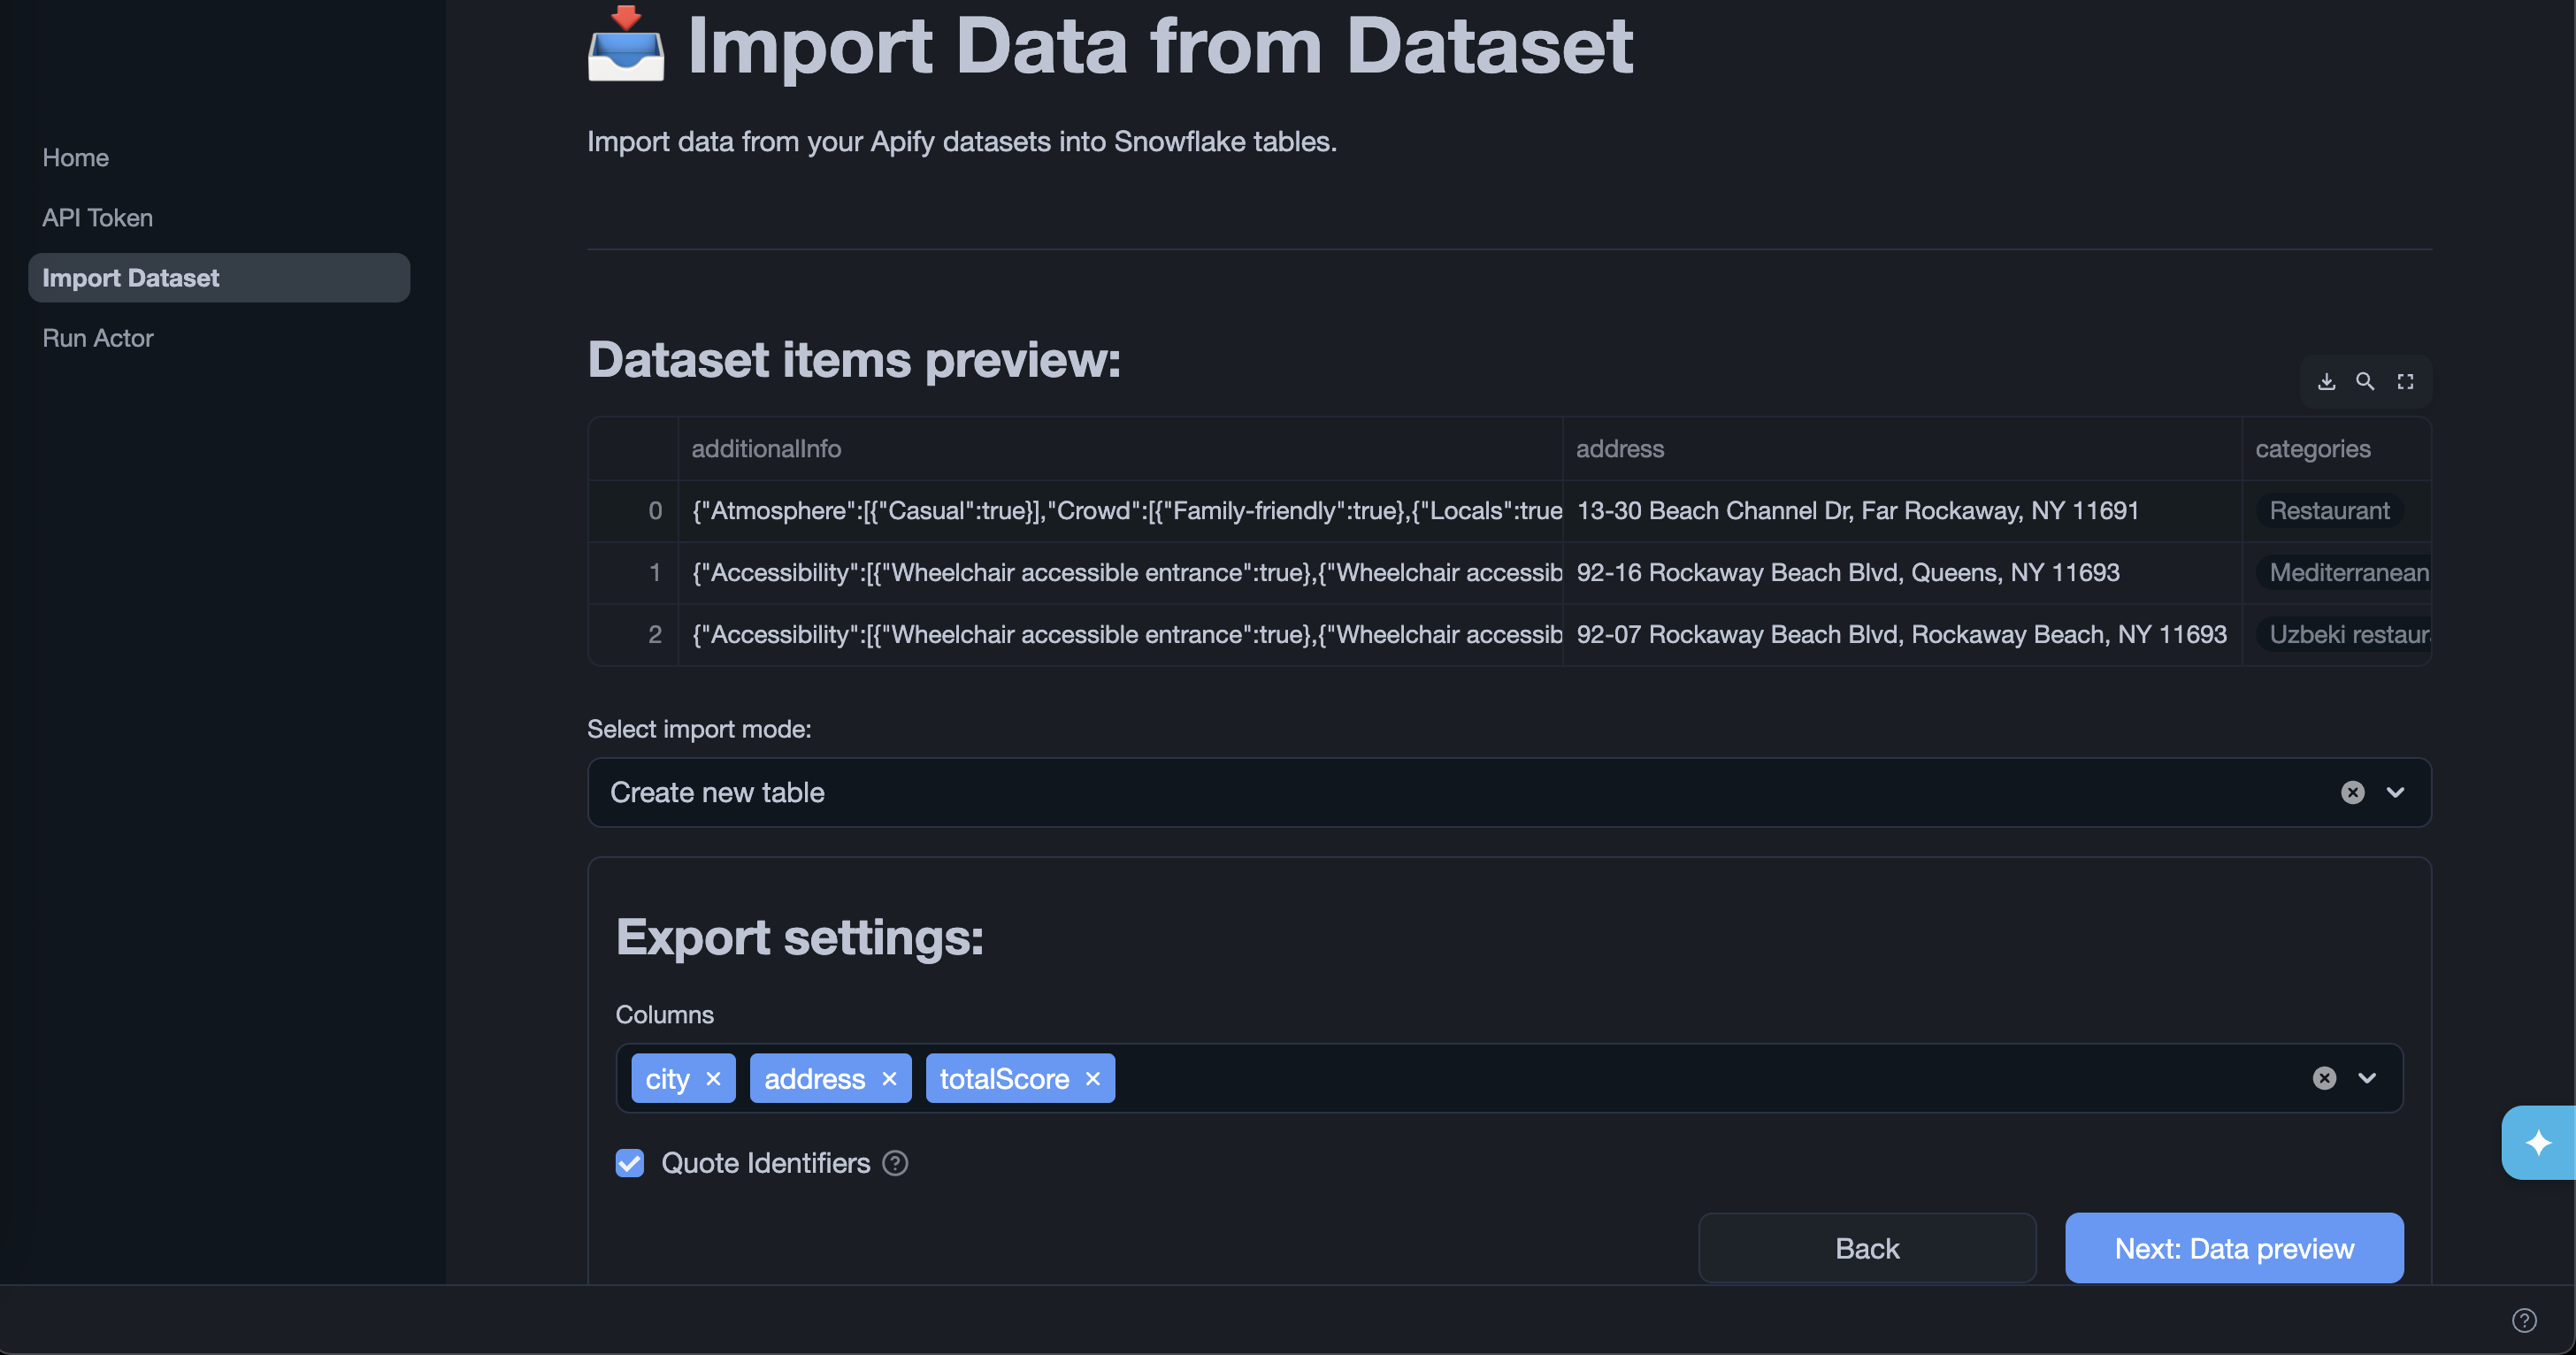
Create new table
The app creates a new table in the APIFY.DATASETS_EXPORTS schema in a dedicated database. Select which columns to include, then click Next: Export.
Tables created by the app are only visible to ACCOUNTADMIN by default. The app grants access to exported tables via its app_public application role. To make the tables visible to other roles, grant that role in a Snowsight worksheet:
GRANT APPLICATION ROLE <app_name>.app_public TO ROLE <your_role>;
Alternatively, open the app in Snowsight, go to the Access management tab, and click Add to assign the app_public role to any account role.

Insert into existing table
Reference an existing table in your account. The app prompts you to grant it access to your table, then lets you map dataset columns to destination columns before inserting. Click Next: Export to write the data to Snowflake.
Run an Actor
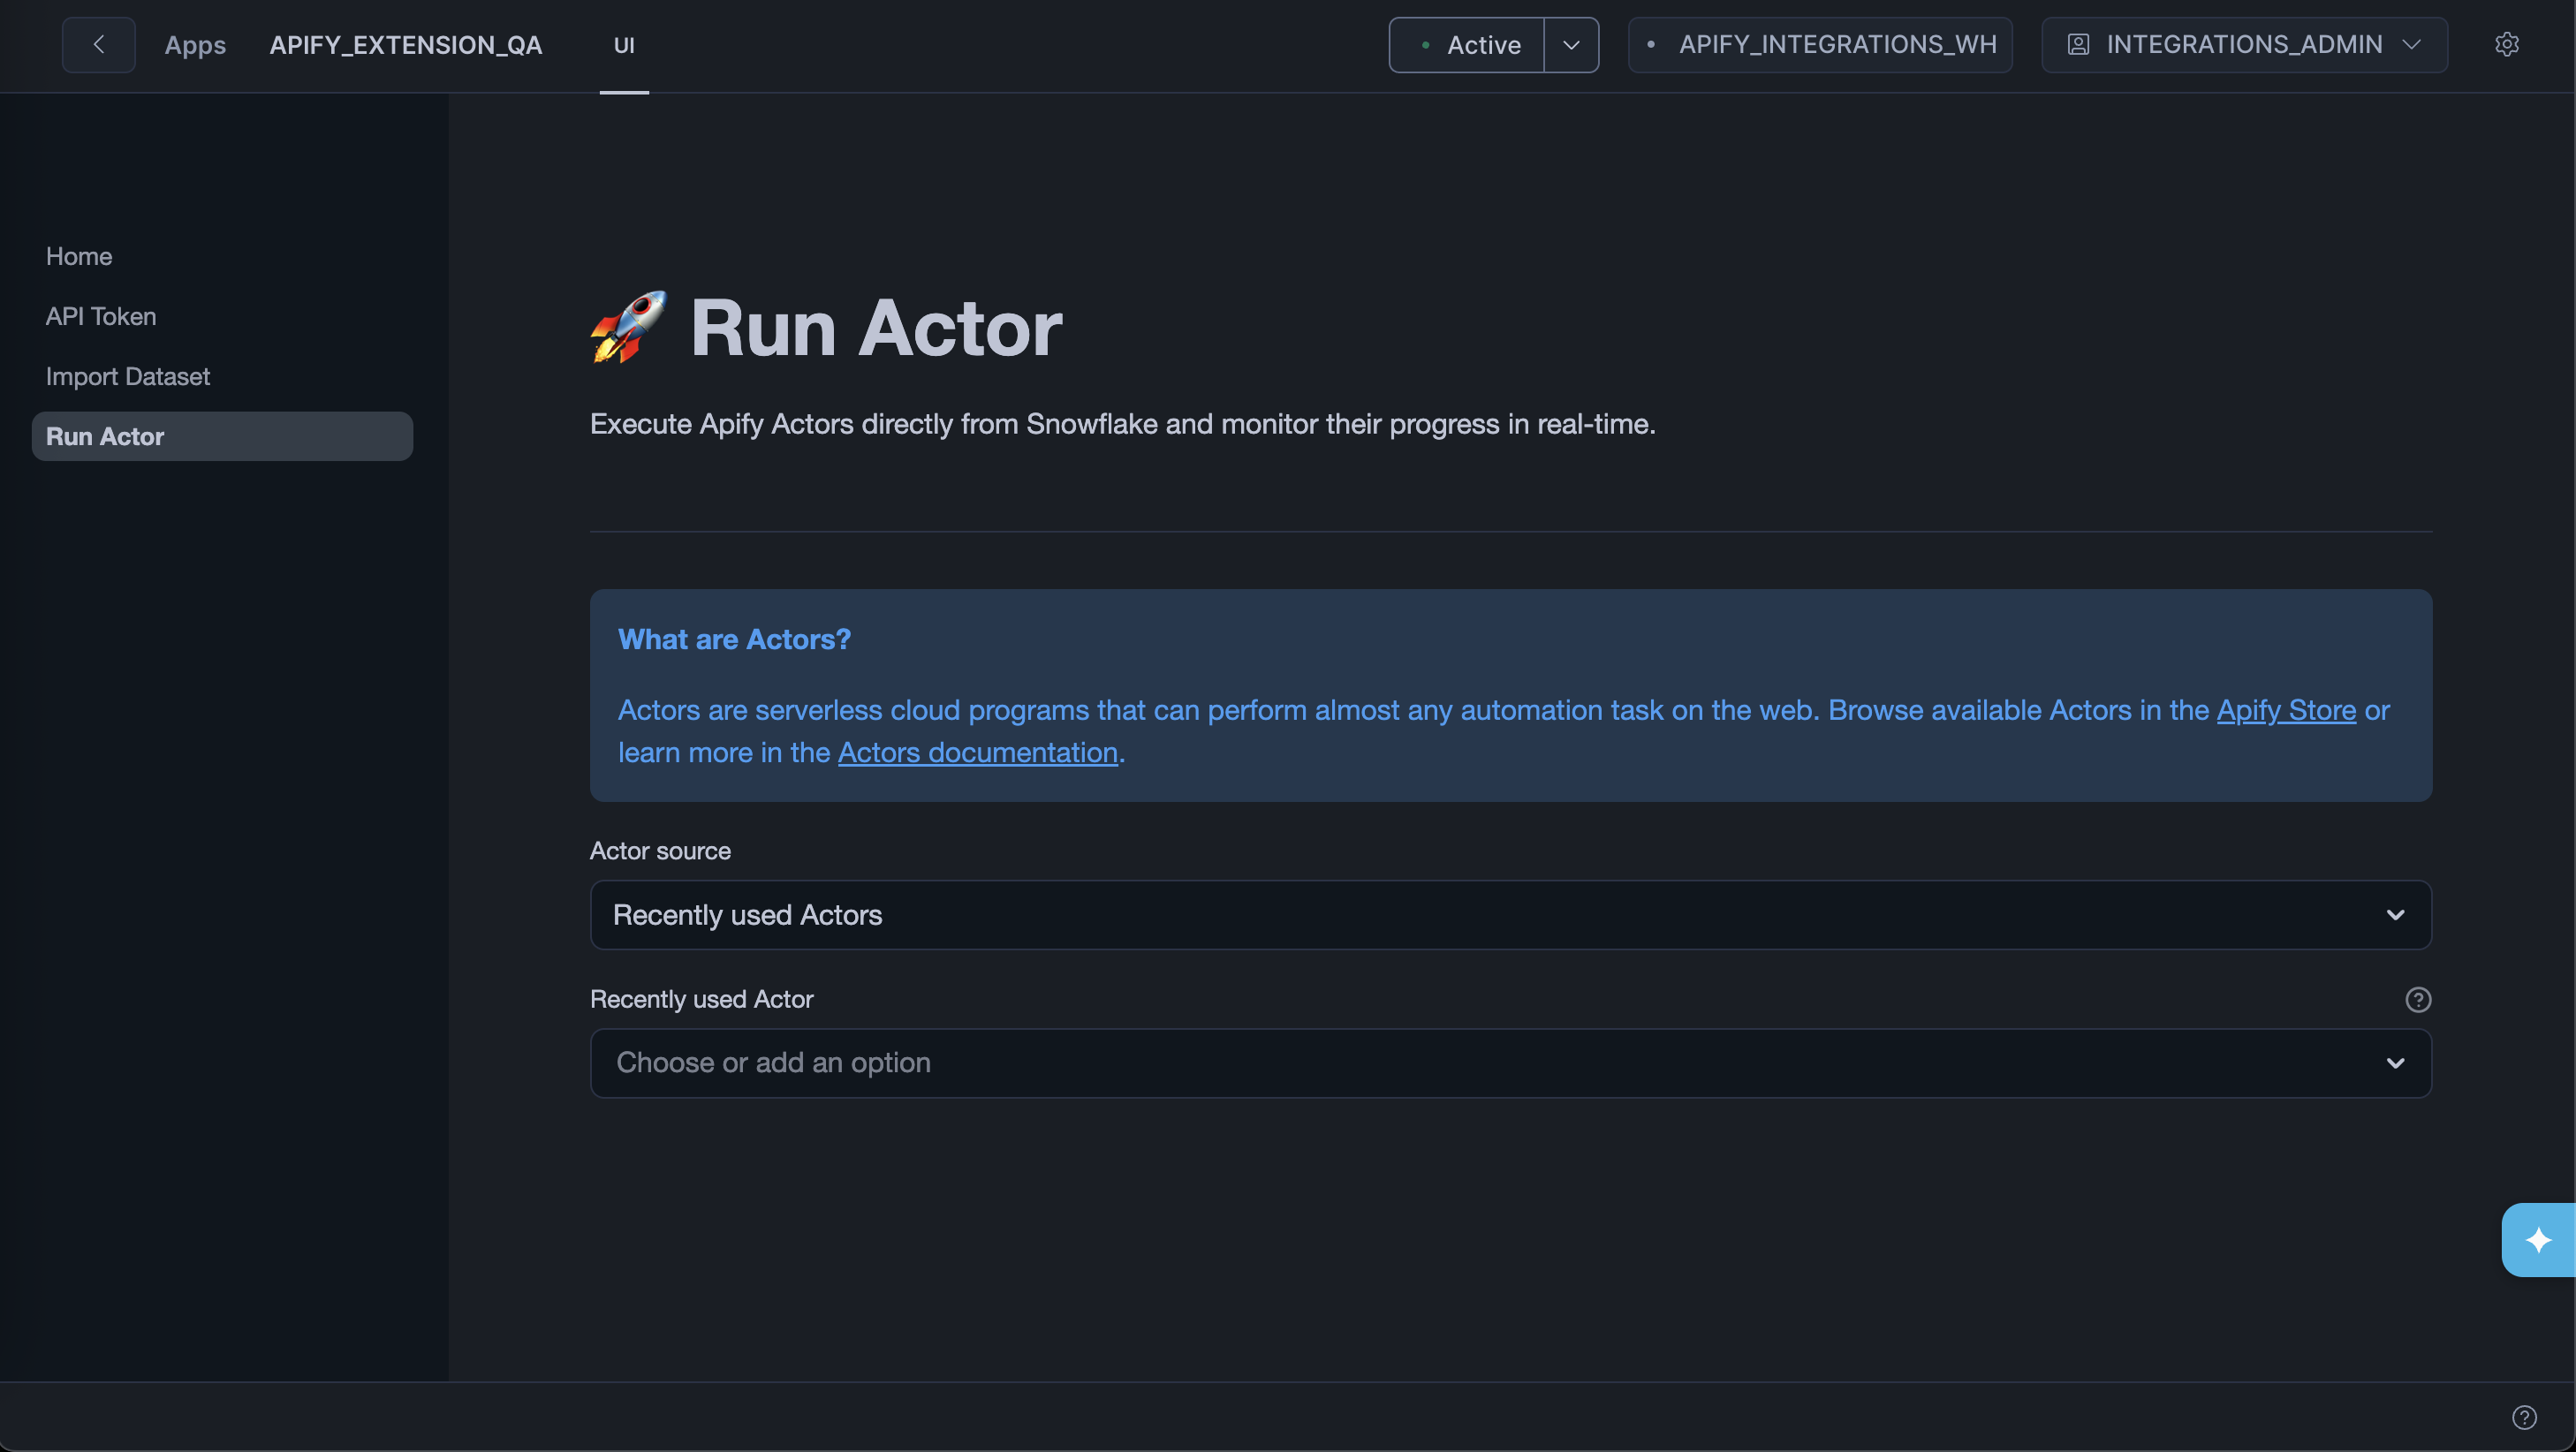
The Run Actor page lets you trigger an Apify Actor run from within Snowflake and then import its results directly.
Step 1: Select an Actor
Choose an Actor from two sources:
- Recently used Actors - lists Actors from your Apify account.
- Apify Store - browses publicly available Actors.
You can also type a custom Actor ID (for example, E2jjCZBezvAZnX8Rb) directly into the input.
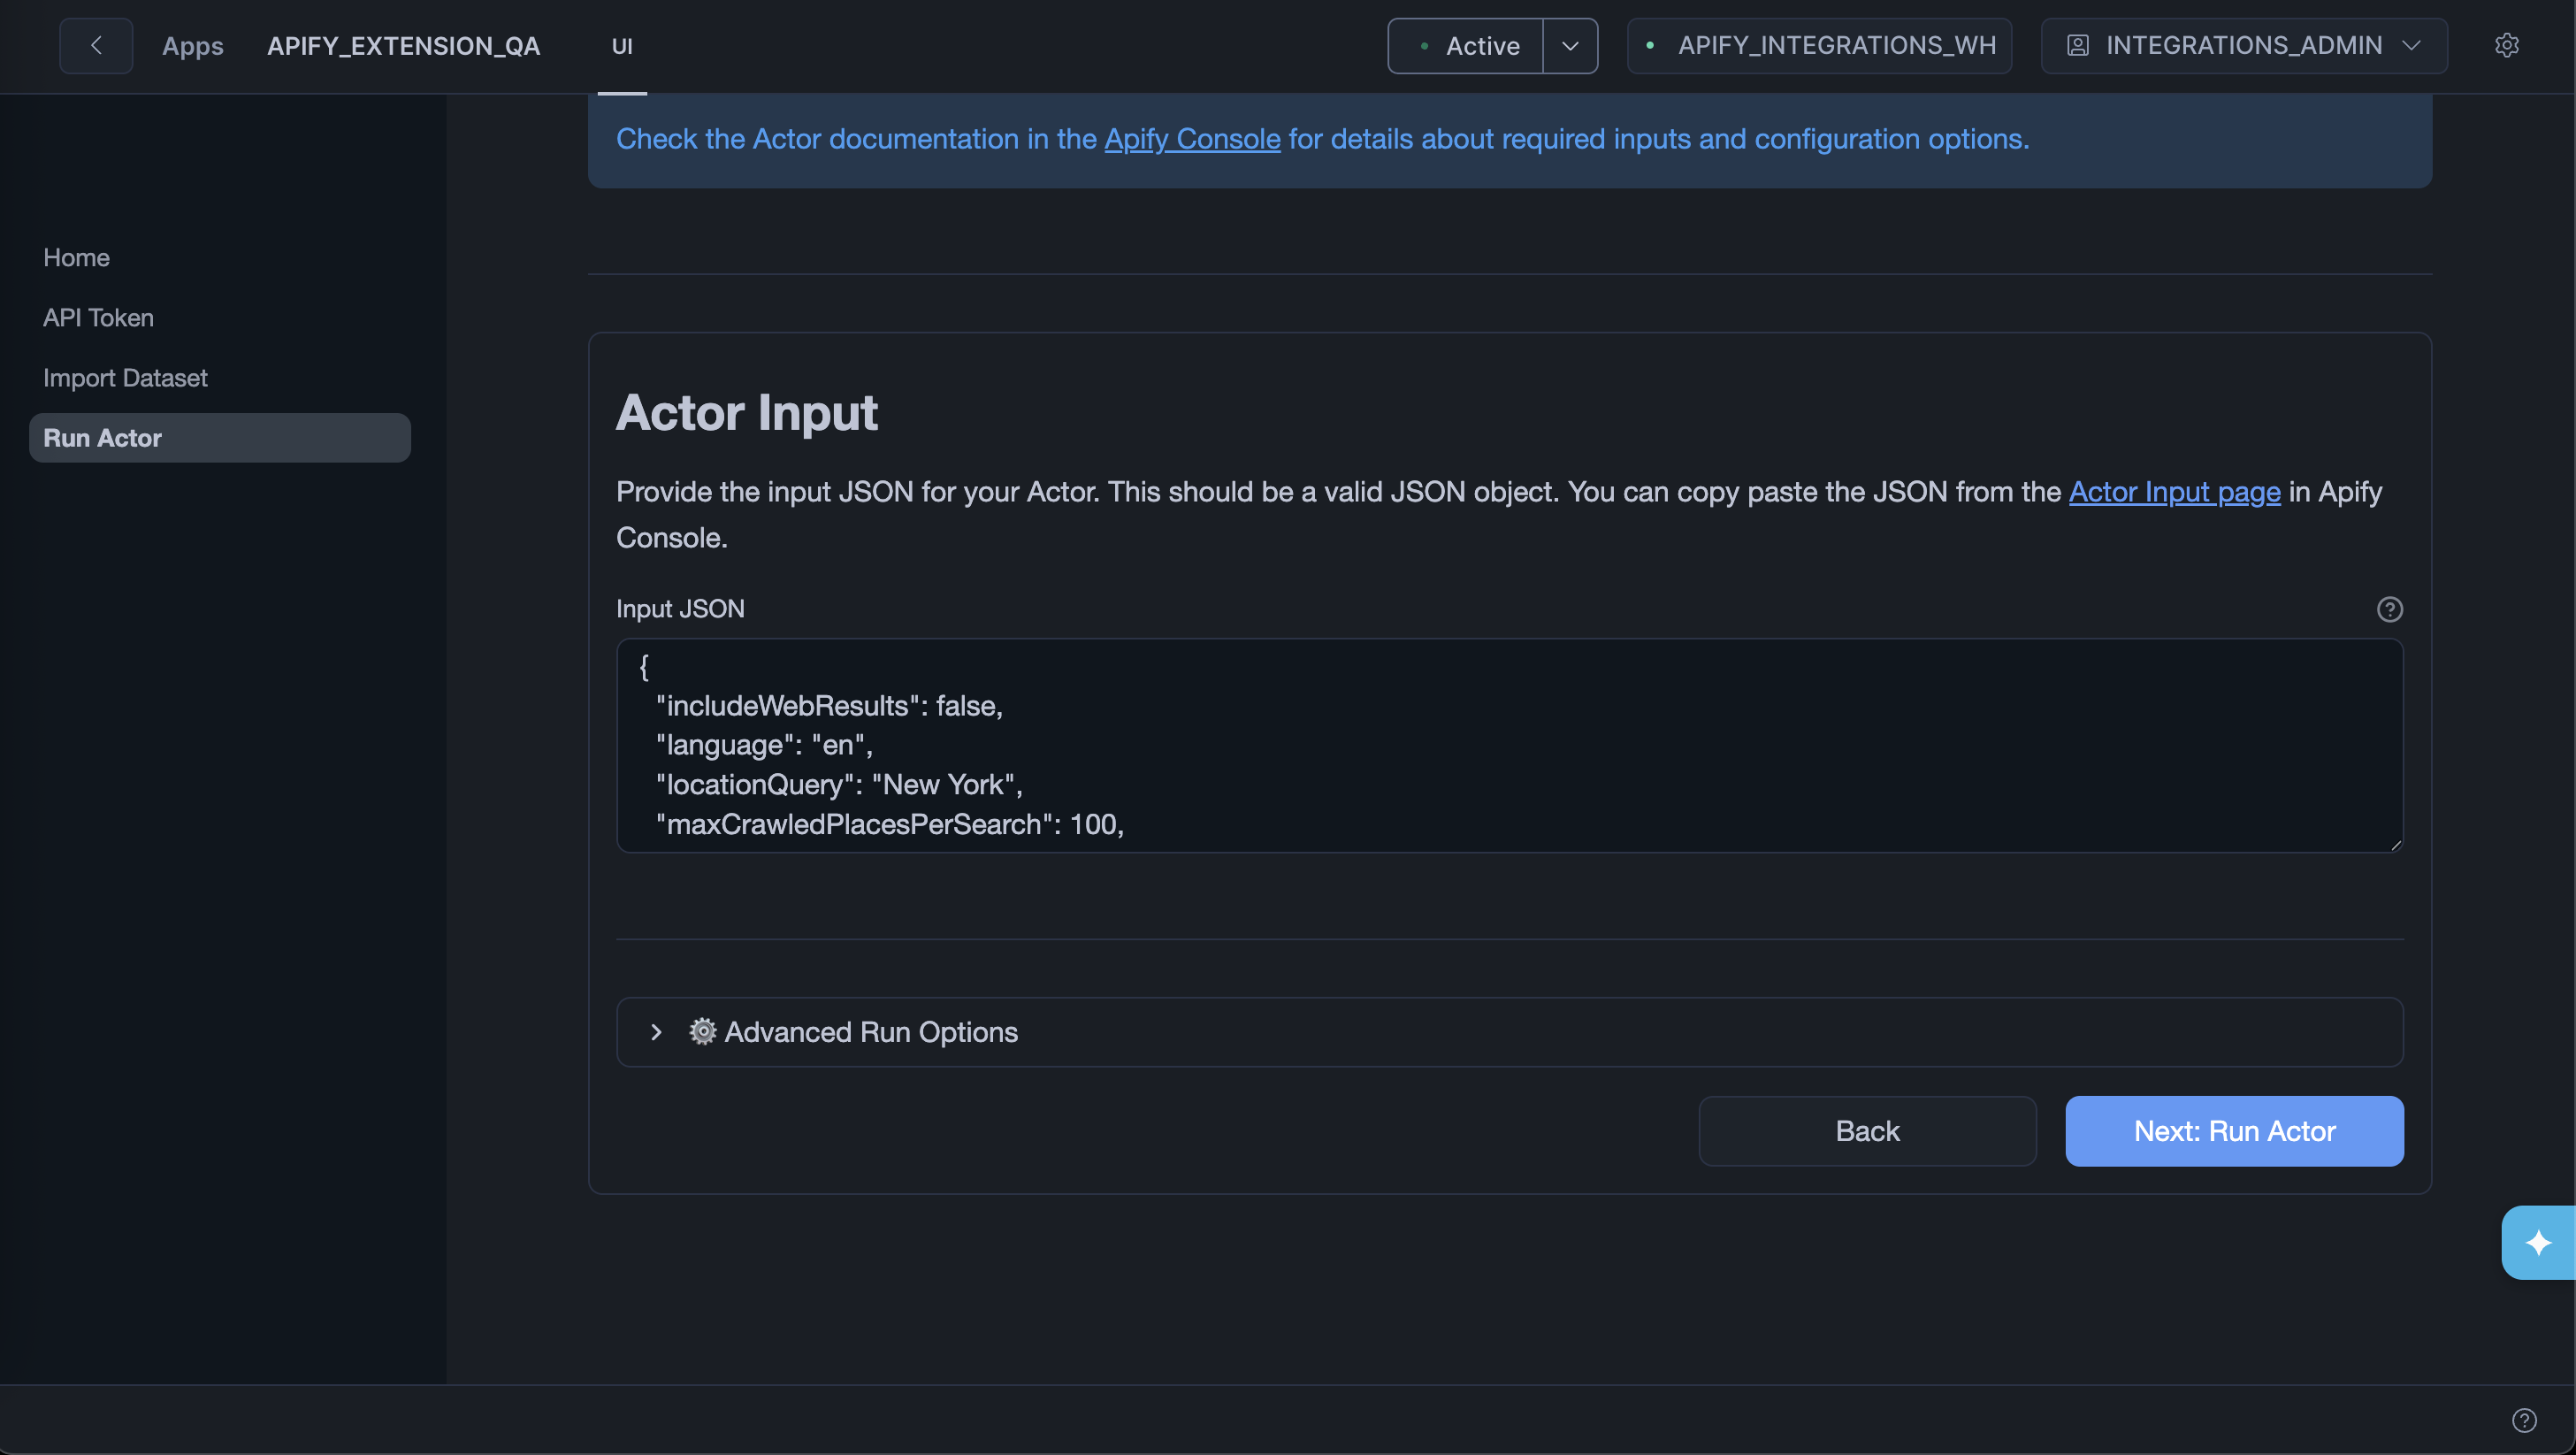
Step 2: Configure and run
Provide the Actor input as a JSON object. You can copy the input from the Actor's page in Apify Console.
Expand Advanced Run Options to set:
- Timeout - maximum run duration in seconds (default 3600). Set to
0for no timeout. - Memory - RAM allocated to the run in MB (default 4096 MB). More memory means more CPU.
Click Next: Run Actor to start the run.
Step 3: Monitor the run
The app polls the run status every five seconds and shows live updates. You can also follow the link to View run in Apify Console for full logs.
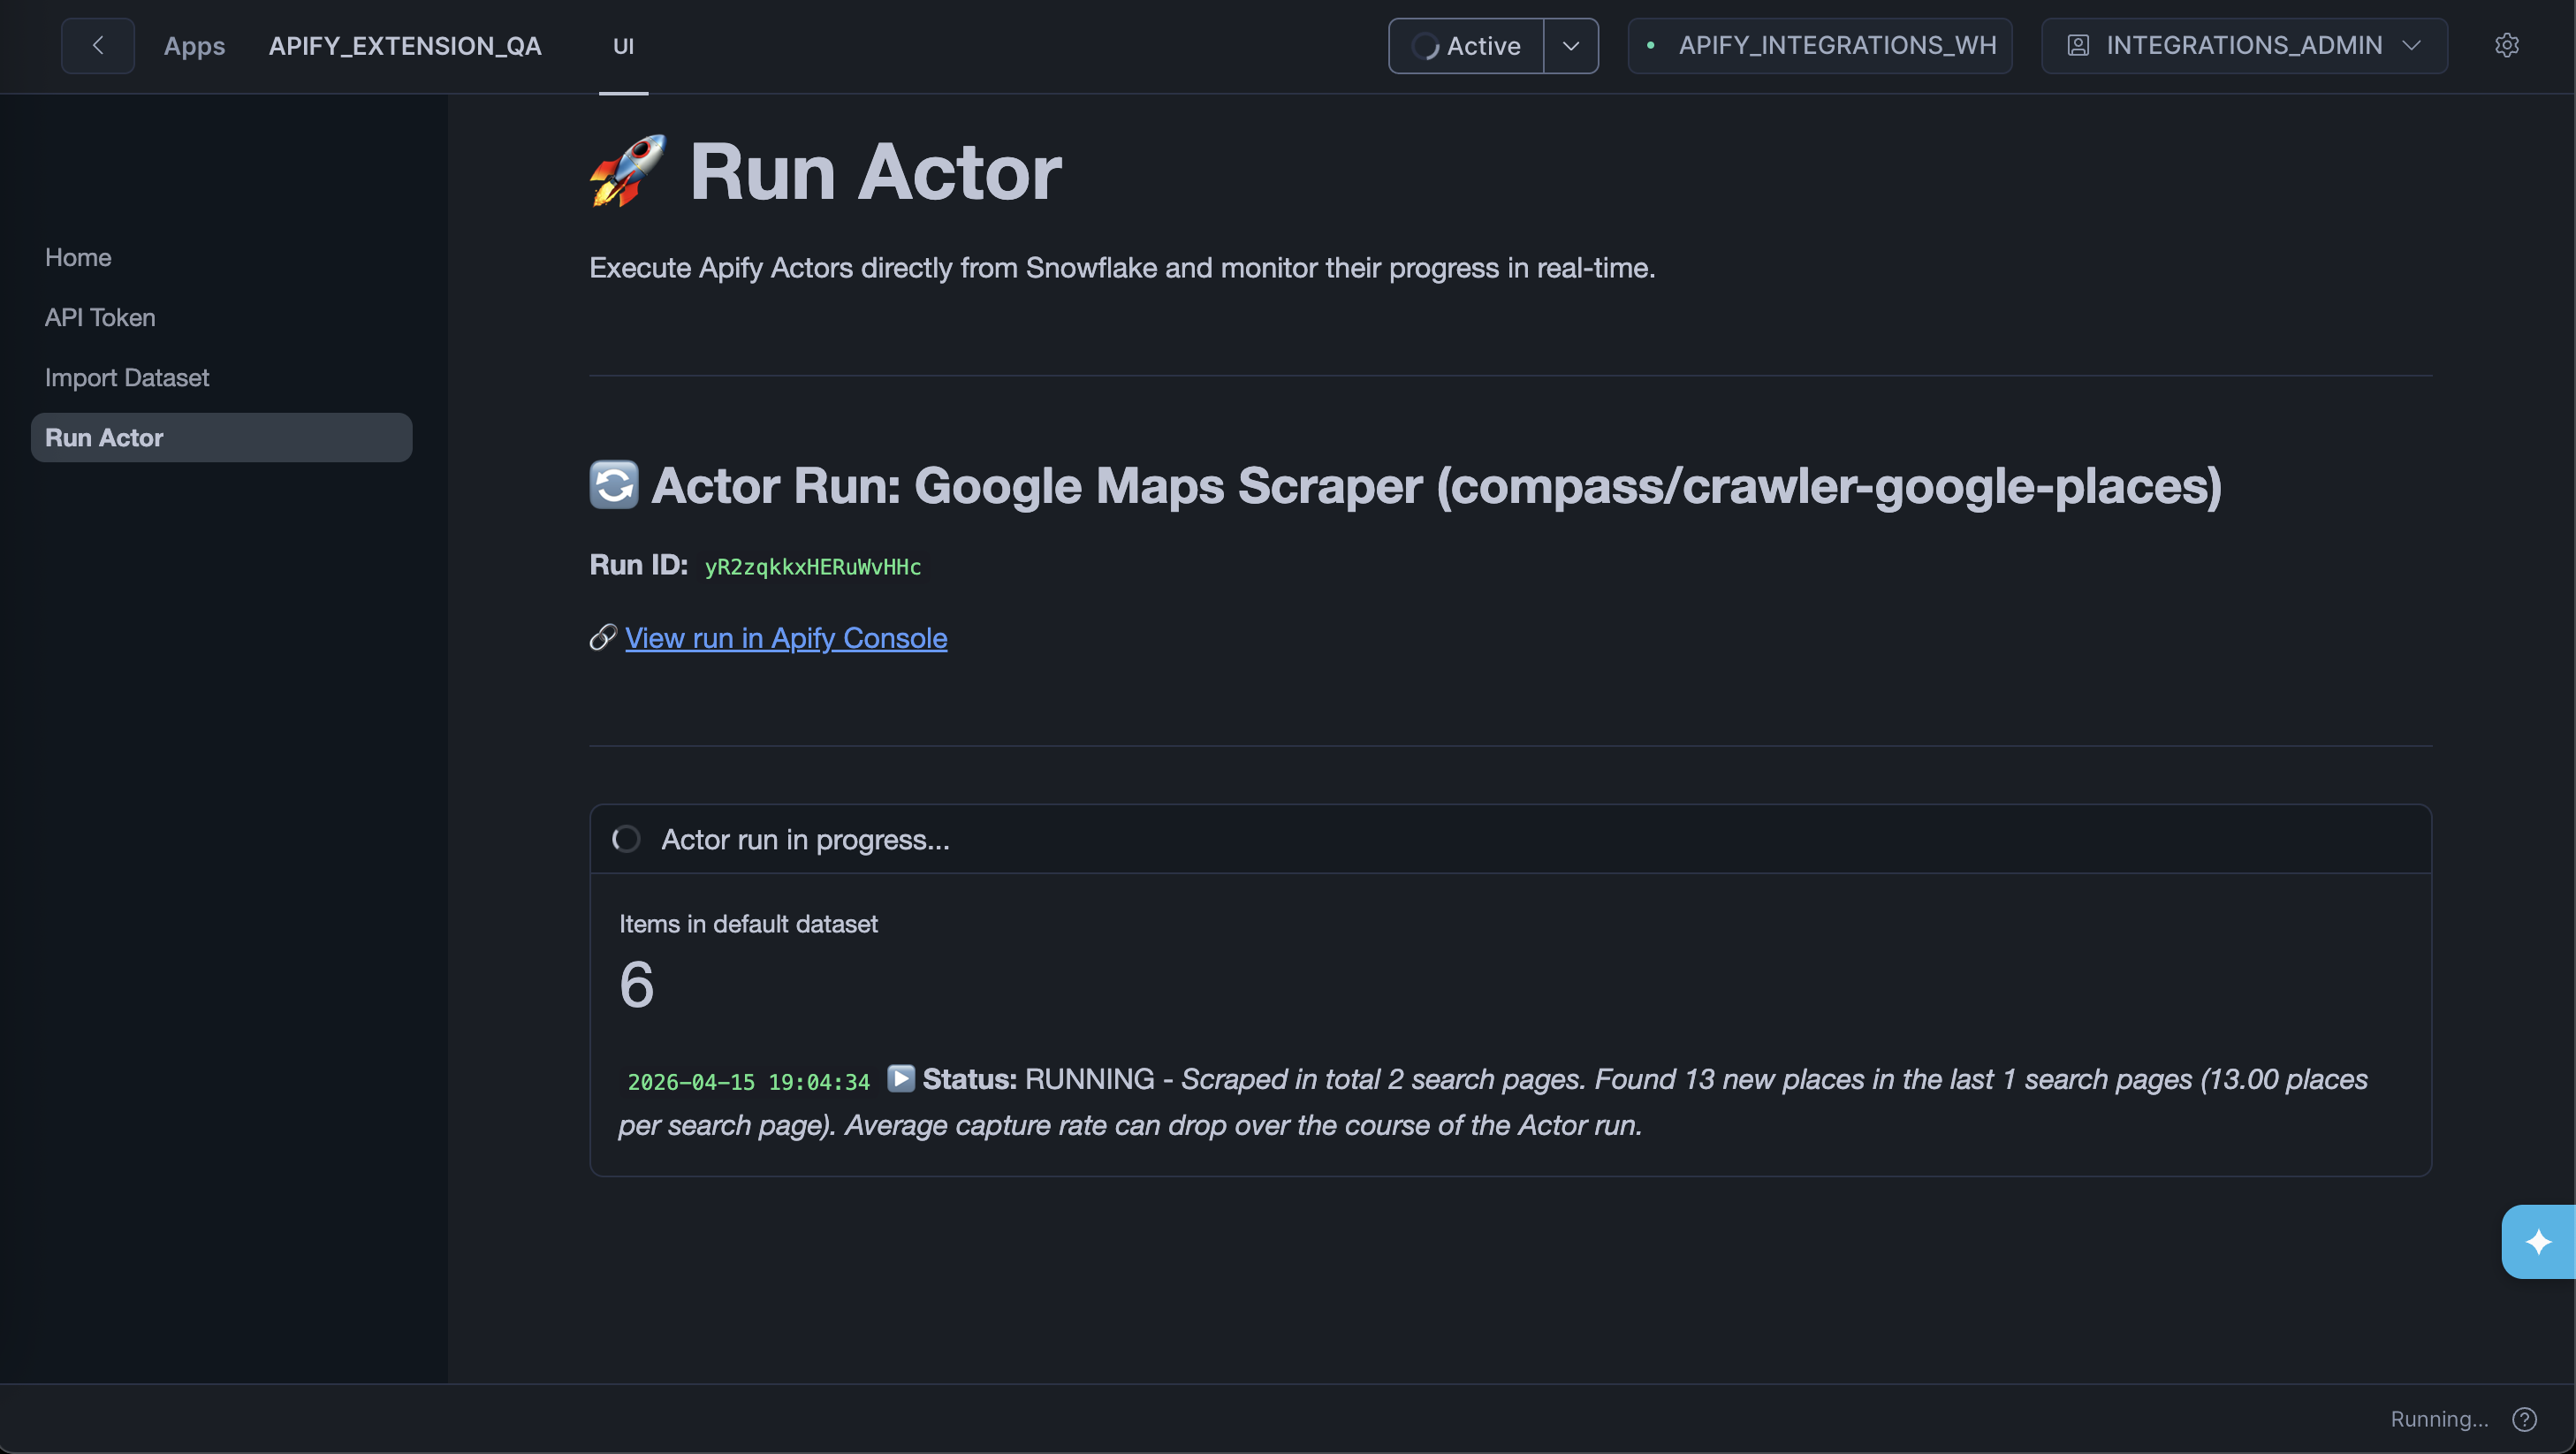
Use the Abort Actor run button to stop the run at any time.
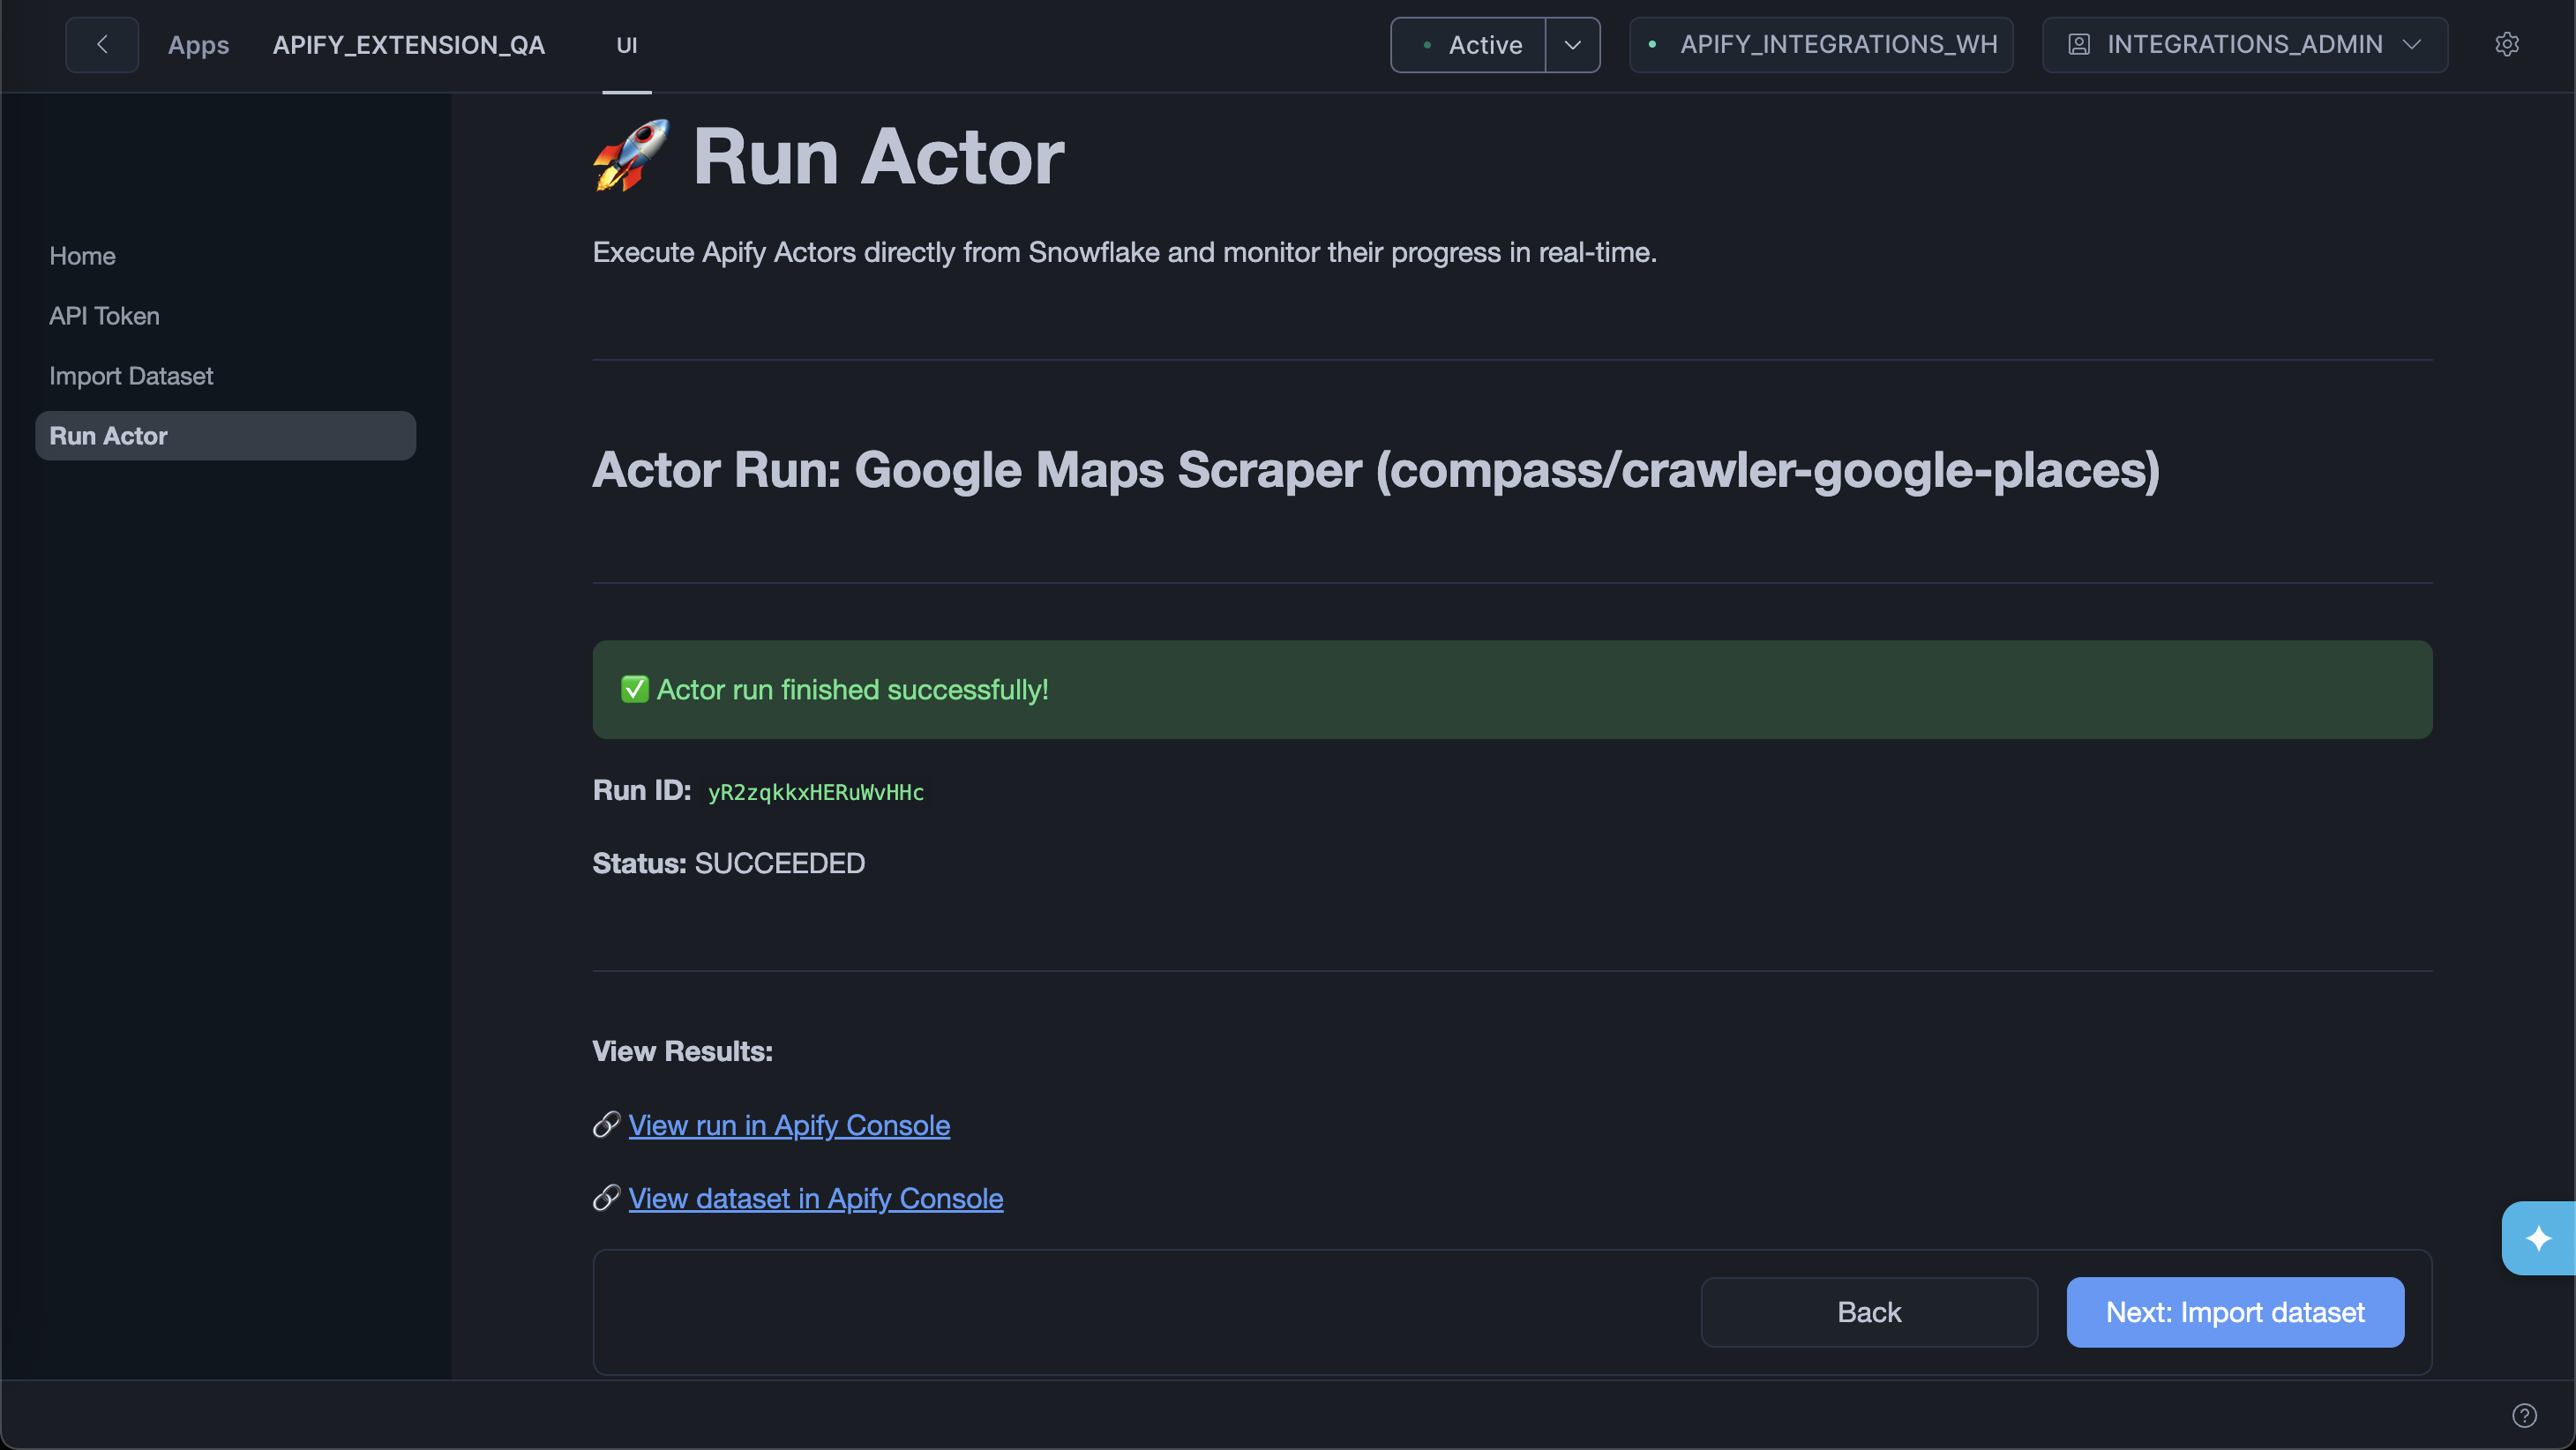
Step 4: Import results
When the run completes, click Next: Import dataset to go straight to the Import Data from Dataset page with the run's default dataset pre-filled. Follow the import steps to load the results into Snowflake.
Next steps
With Apify data in Snowflake, you can query it with standard SQL, join it with your existing tables, and connect it to business intelligence (BI) tools like Tableau, Looker, or Snowflake's own data-sharing features.
If you have any questions or need assistance, contact us at integrations@apify.com, through the live chat, or in the developer community on Discord.